
Have you ever stumbled upon something so adorable it instantly brought a smile to your face? This monster does exactly this. For me, at least. Inspired by a polymer clay online course, I wanted to recreate one of my characters but from air-dry clay instead. And this is the result:
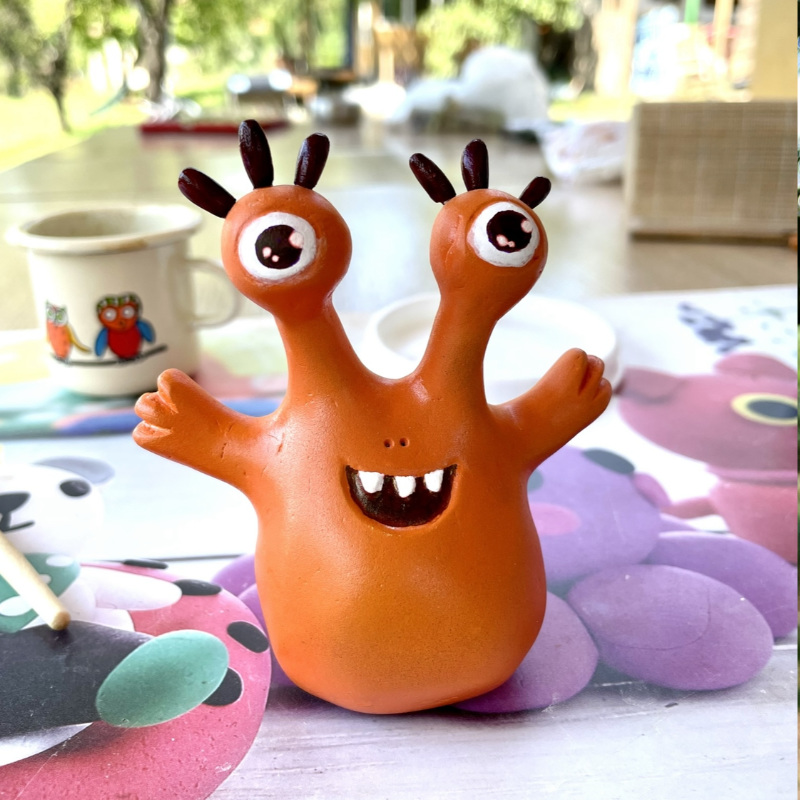
The original artwork after which I created this little creature pushes the good mood button for me every time I see it. Plus, it looked relatively easy for a first time try with air-dry clay. Check it out:

Step by step making of the monster
I initially created a skeleton from wire and crumbled aluminum foil. Then I slapped the clay around the skeleton and loosely shaped the form. It became one big thick ugly lump. Fixed the creases in the clay with fingers and then let it dry for a couple of days.
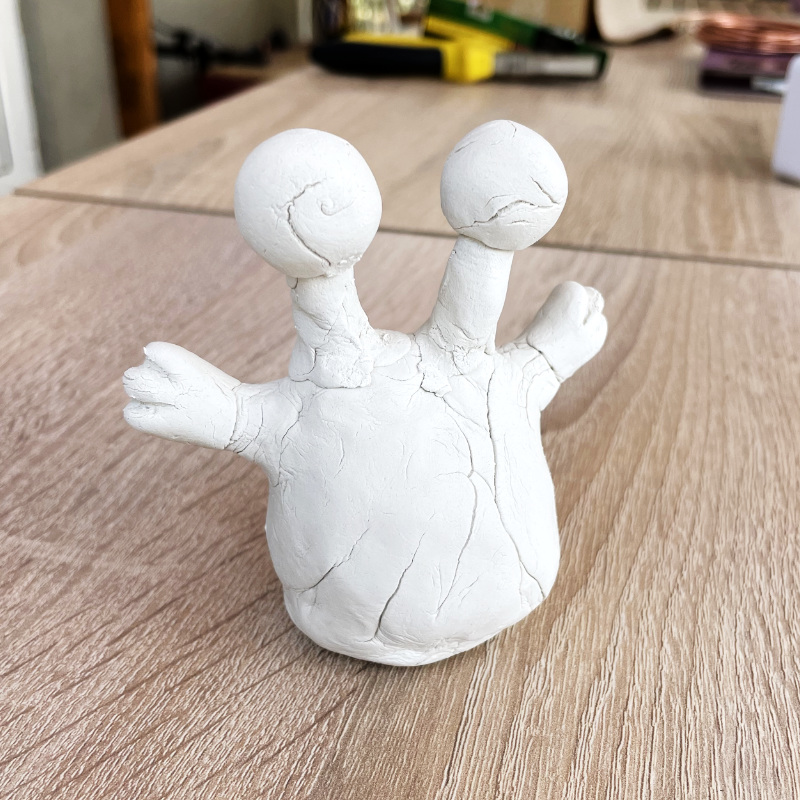
Then I sanded with 150 grit sandpaper. A lot. A real big fat lot. Then sanded consecutively with 180, 250 and 320 grit. Until I got to this:

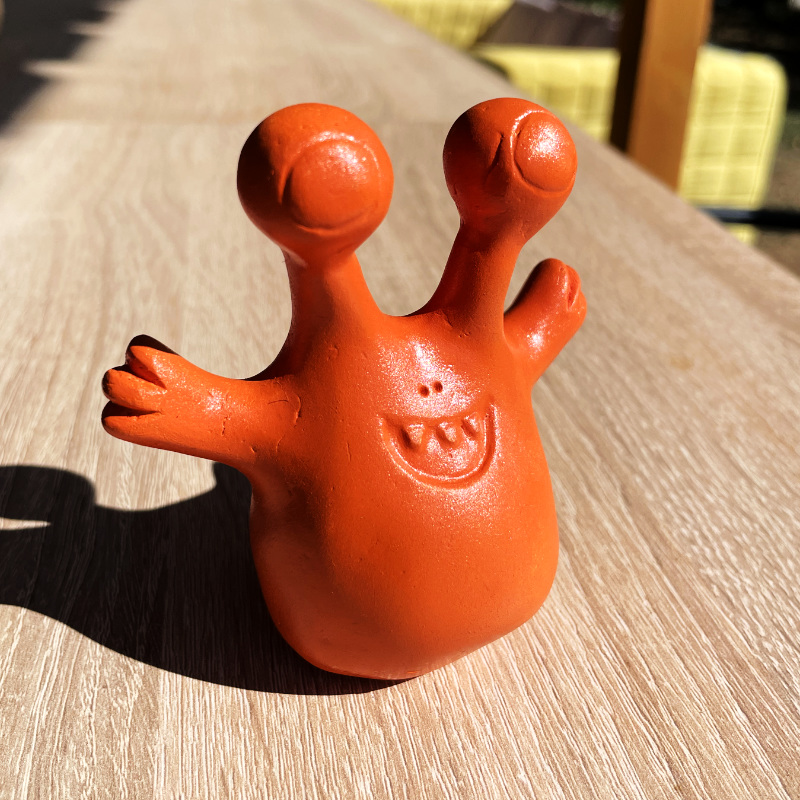
Now it was time for the details – eyes, mouth, teeth. Used my dremel-like tool for this and carved them. These were my first steps in carving with this type of device, too. This is what I managed to do:


I had to stop carving at some point so I did. Then – a failed attempt at spraying with acrylic paint. I was eager to see it in color and sprayed too much and too fast on one spot of the poor monster. Notice the ugly drip of the paint on the right side of the photo under the eye:

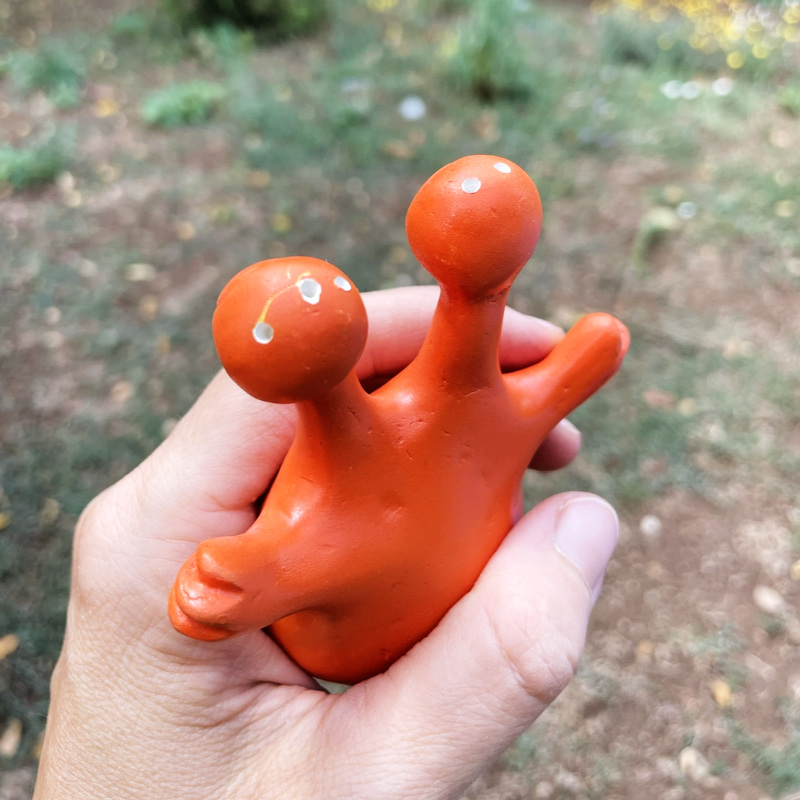
Sooo, I sanded again. Then spray painted again, this time more carefully, from longer distance. A number of coats along with changing the direction of spraying. Then I let it dry.
At this time a great fear arose. I had to make holes for its tiny lovely eyelashes. Procrastinated some days then I said to myself “Finally I’ll make it shitty anyway” and drilled the holes. Not beautifully, of course, and my darling suffering monster now had a battle scar.
With this, a ton of pressure alleviated and I continued to make the eyelashes themselves. Shaped clay around pre-cut parts of a wooden toothpick. Let them dry. Then I painted the details with a white acrylic marker and one of the alcohol ink markers which my daughter uses frequently. She happened to have this lovely shade of purple which I thought was just right for my creature. Lastly I sprayed it with UV-resistant matte varnish and it was ready.
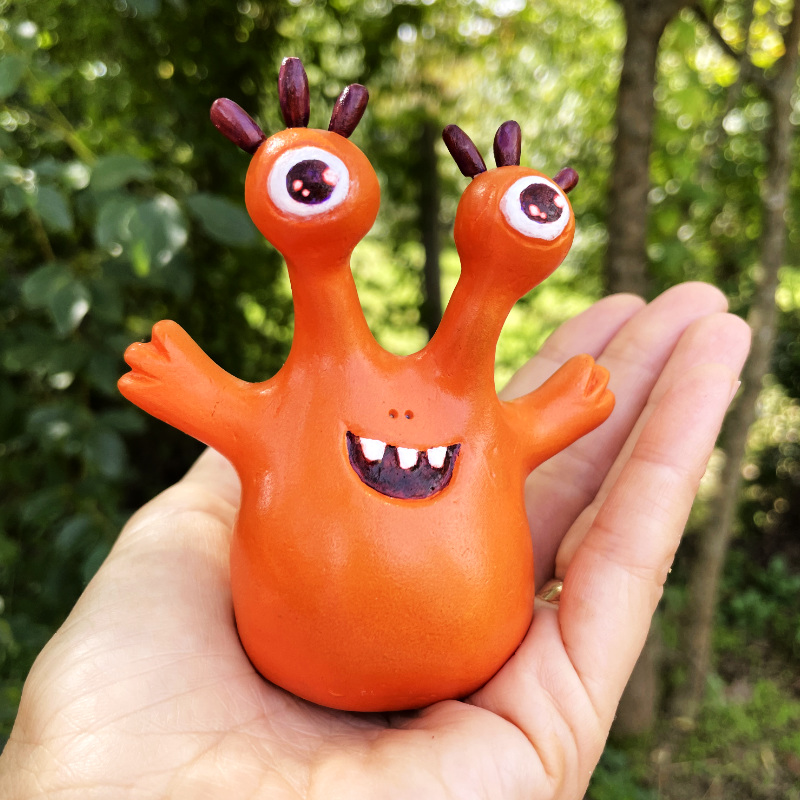

Finally, a little video to see the creature in all its splendor before I broke it:
Yes, I managed to break it a very short time after it was ready. I tried to 3D scan it (quite unsuccessfully) in order to make 3D prints but it fell on one side and one of the eyes broke near the base. It is not a huge problem because the eye is easily put again on the wire. Now the creature has a removable eye.
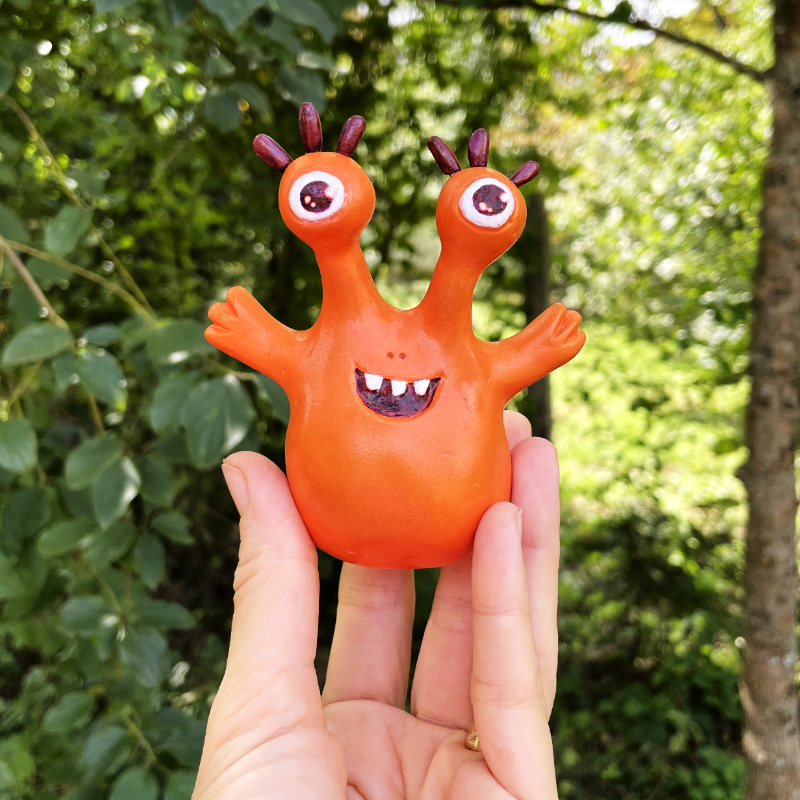
This adorable fellow somehow manages to always be in a good mood. So it stands on my desk and enjoys me whenever I look at it.
But perhaps the most rewarding aspect of this project was the journey itself. Through trial and error, I learned valuable lessons – about working with clay but mostly about the beauty of imperfection. Crafting this cute monster figurine was like magic for me – I made one of my drawings come to life.
So, if you ever find yourself in need of a pick-me-up, why not try sculpting with clay? Air-dry clay is the cheapest alternative, it’s non-toxic and it smells nice. And the process is really rewarding.

Wonderful work, my friend ~ you’re so talented & creative! 🪄✨🎨
Thank you so much Phil!