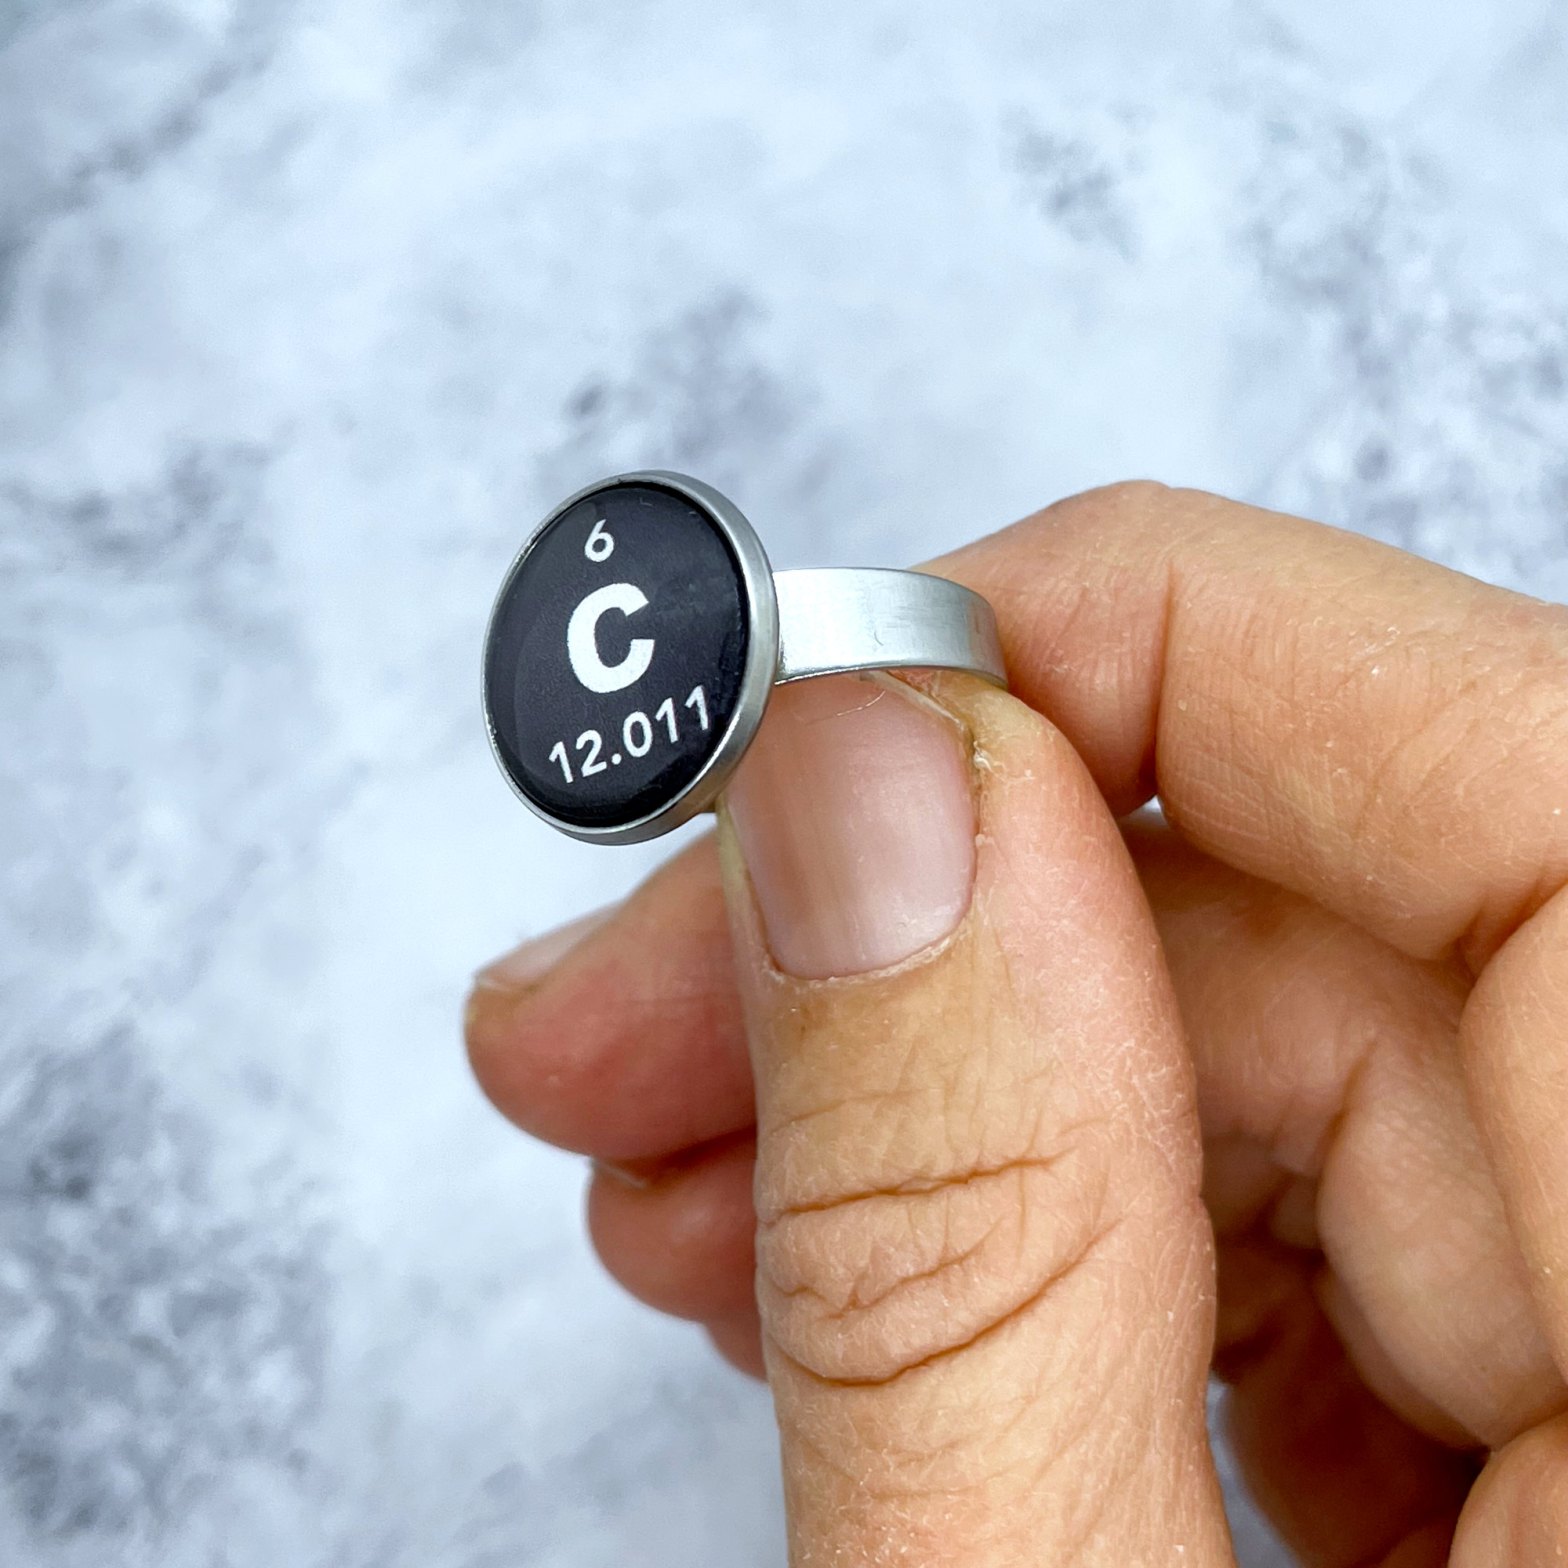
I made this stainless steel cabochon ring featuring the chemical symbol for carbon (C) by request of a lovely customer at Etsy. Then I added it to my Etsy store as a regular listing. This custom element ring is perfect for science enthusiasts, chemistry lovers, or anyone wanting a unique, meaningful piece of jewelry.
Creating this custom stainless steel cabochon ring was a joy, especially for such a thoughtful customer. This piece is simple yet striking, featuring the chemical symbol for carbon—a sleek “C” along with its atomic number, 6, and atomic weight, 12.011. It’s designed just like you’d see on the periodic table, with crisp white text set against a deep black background. To give it that unique shine and durability, I sealed it under a polished glass dome that catches the light beautifully.
I love working with stainless steel because it’s sturdy and it doesn’t tarnish with wearing, making this ring great for everyday wear. The glass dome also magnifies the text just a touch, enhancing the look while adding a vintage, almost scientific charm. It’s a perfect fit for anyone who appreciates chemistry, the natural world, or just unique, custom jewelry!
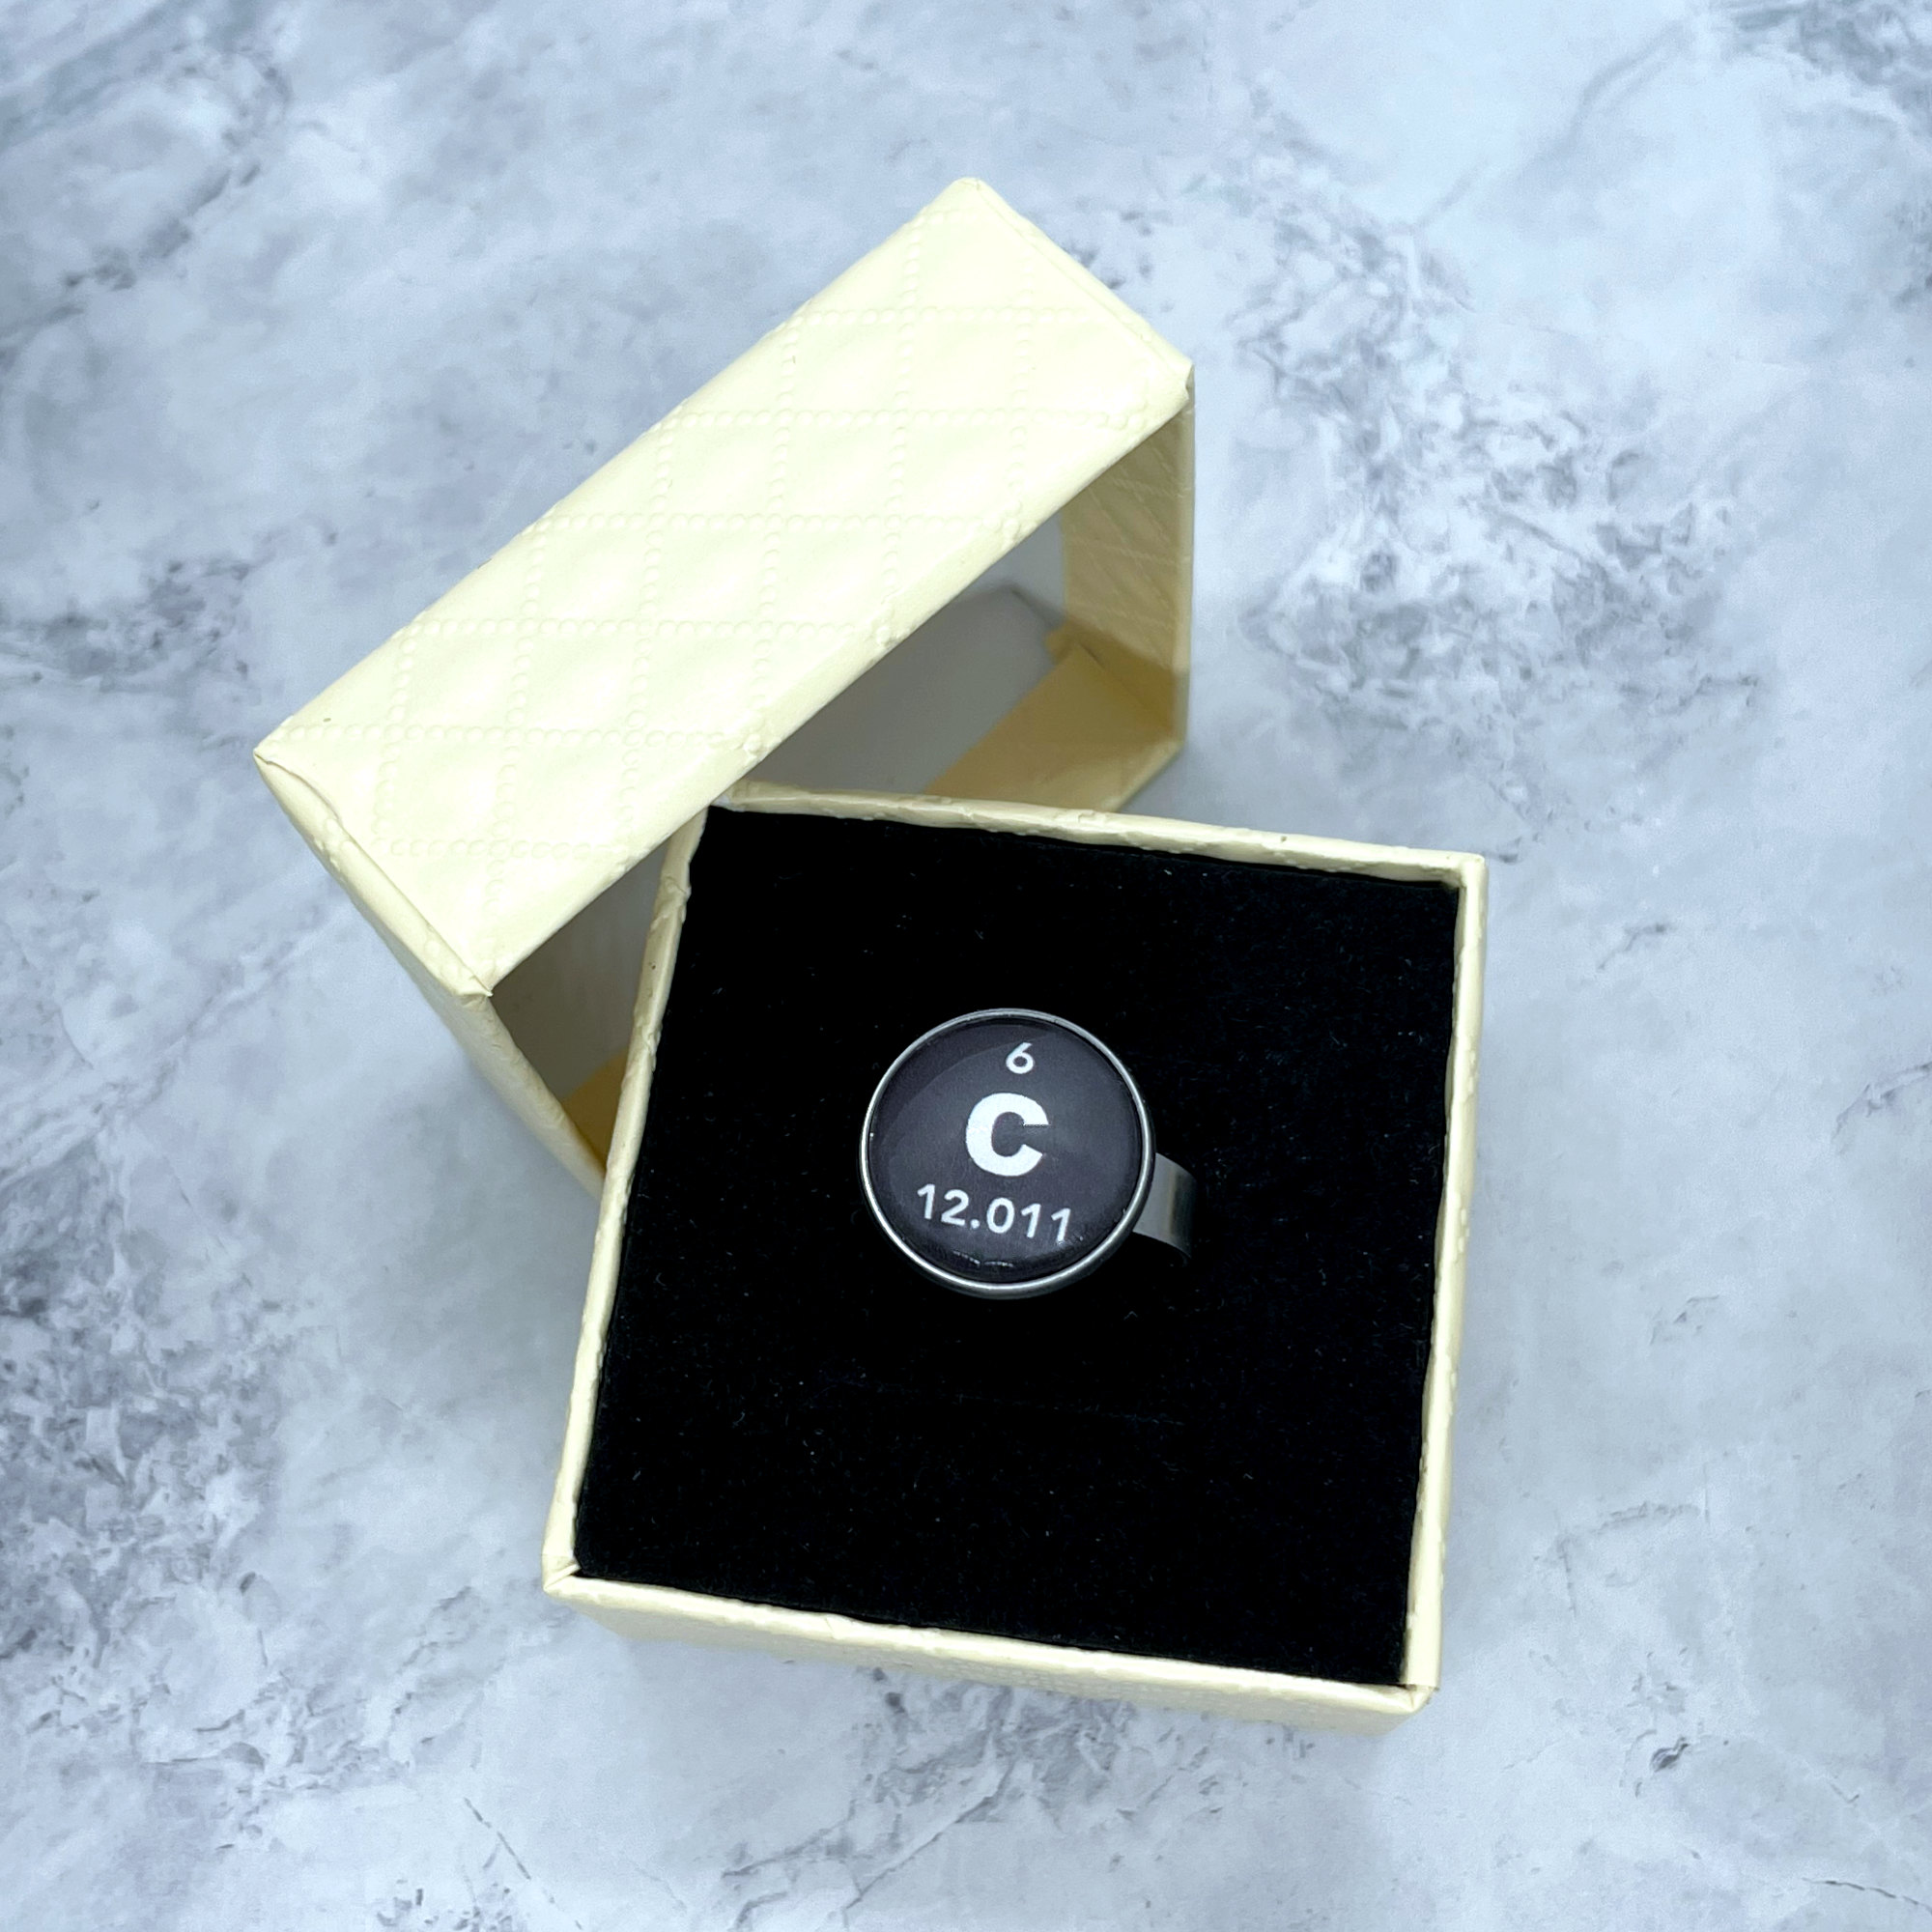
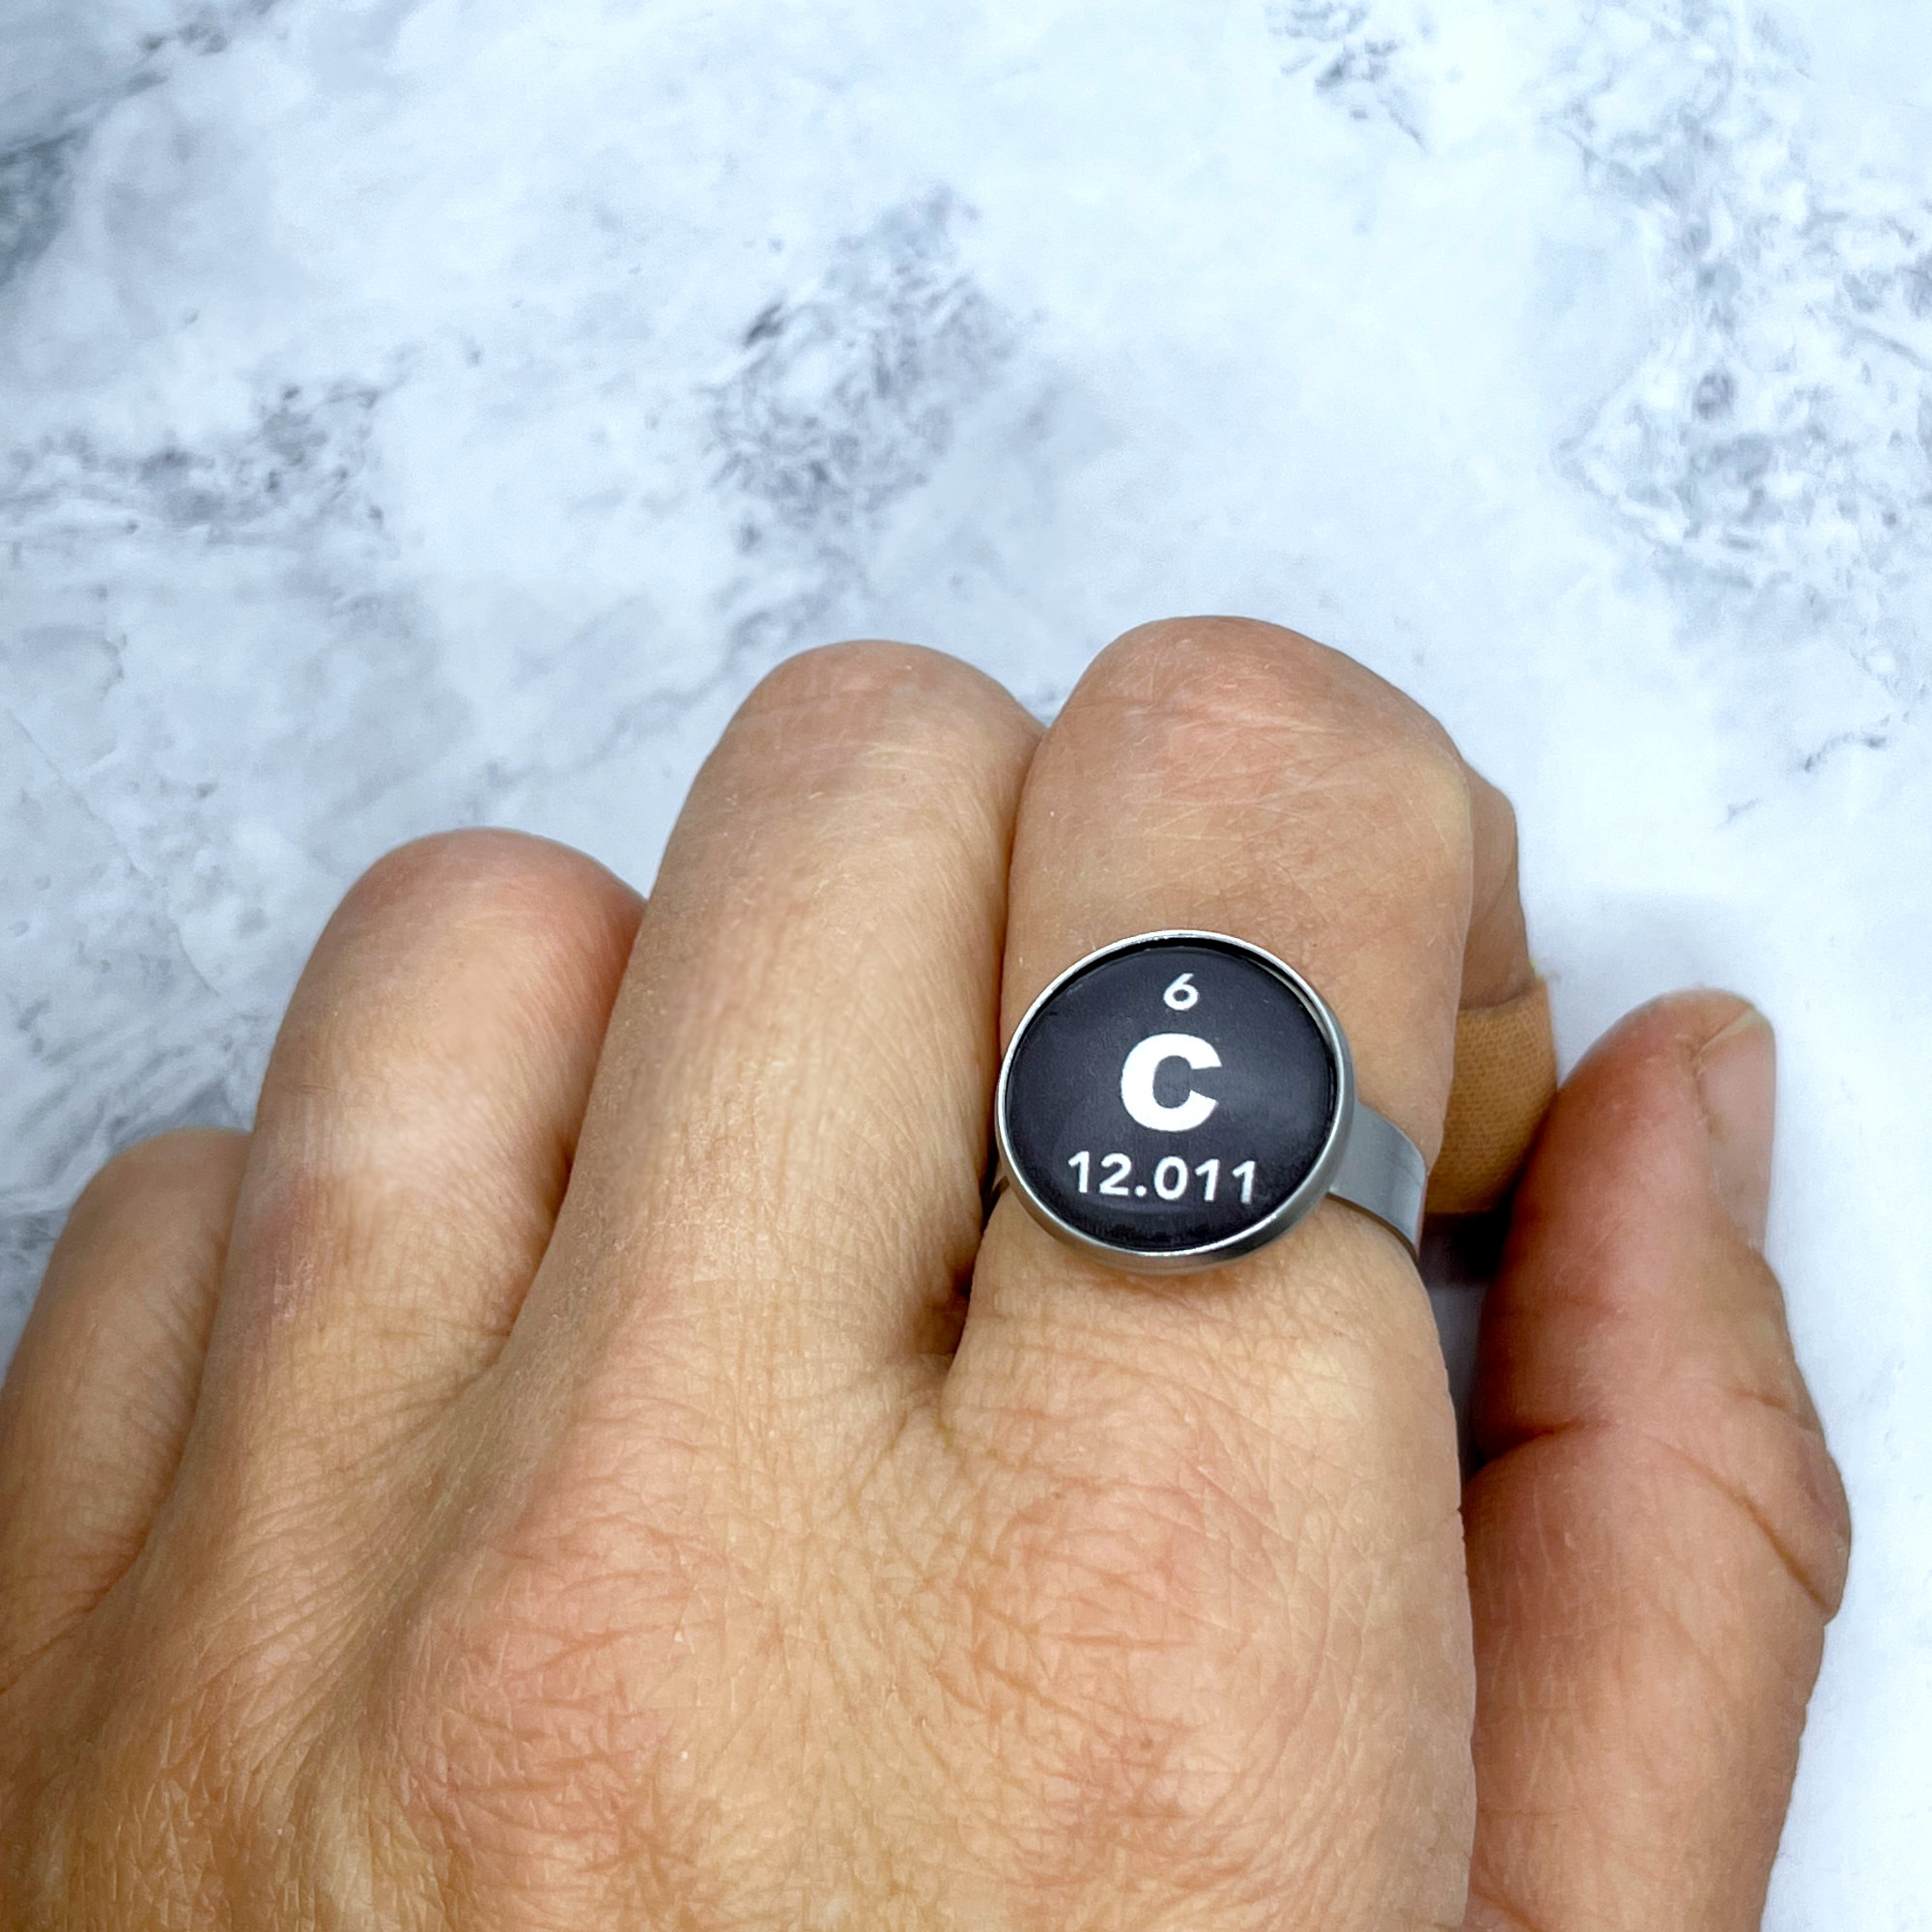
Here are some more photos so you can see it from all angles:
This ring is available on my Etsy shop, where you can choose your favorite element to feature. Whether it’s carbon or something else meaningful to you (hydrogen, oxygen, gold!), I’m always excited to make custom designs that fit each person’s story and style.
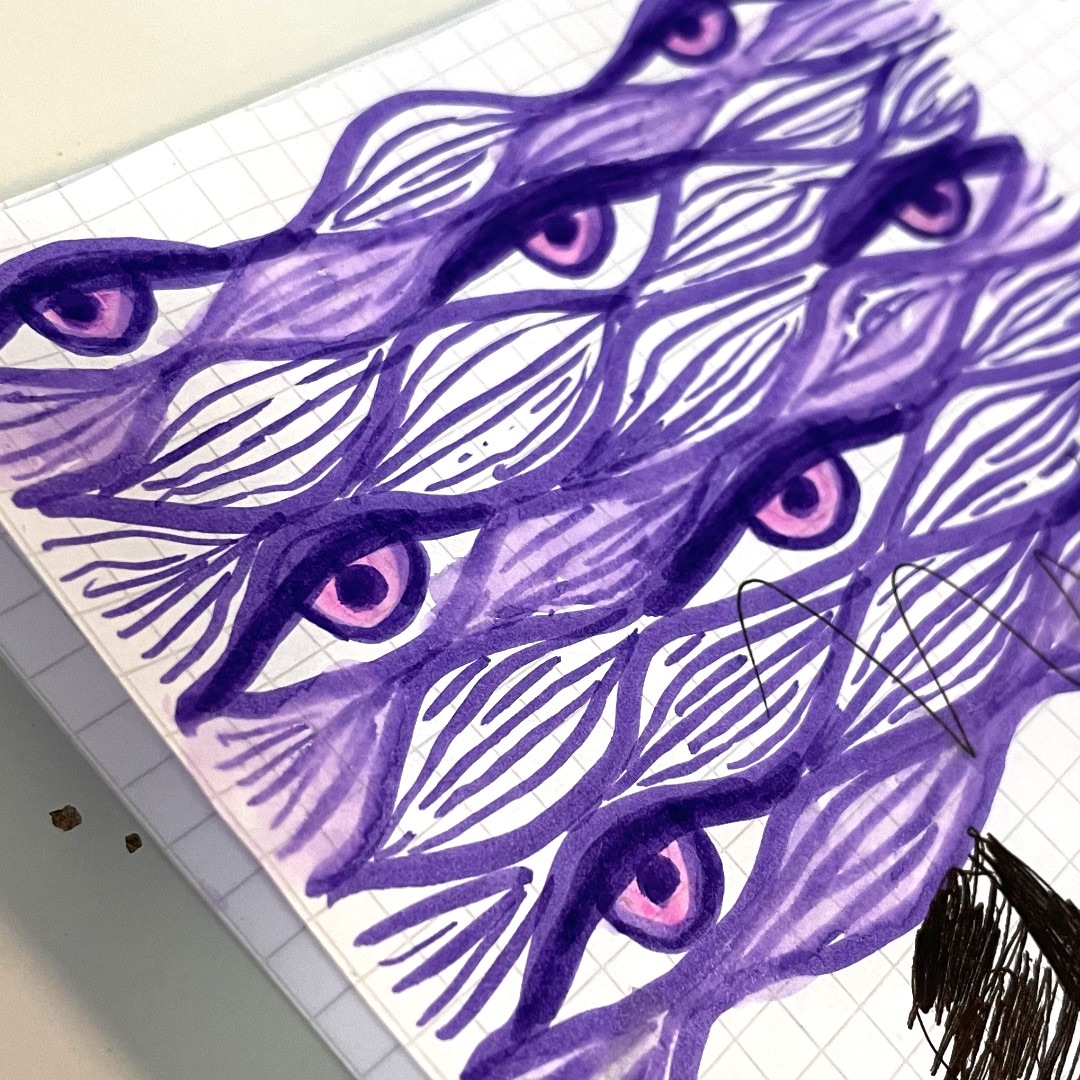
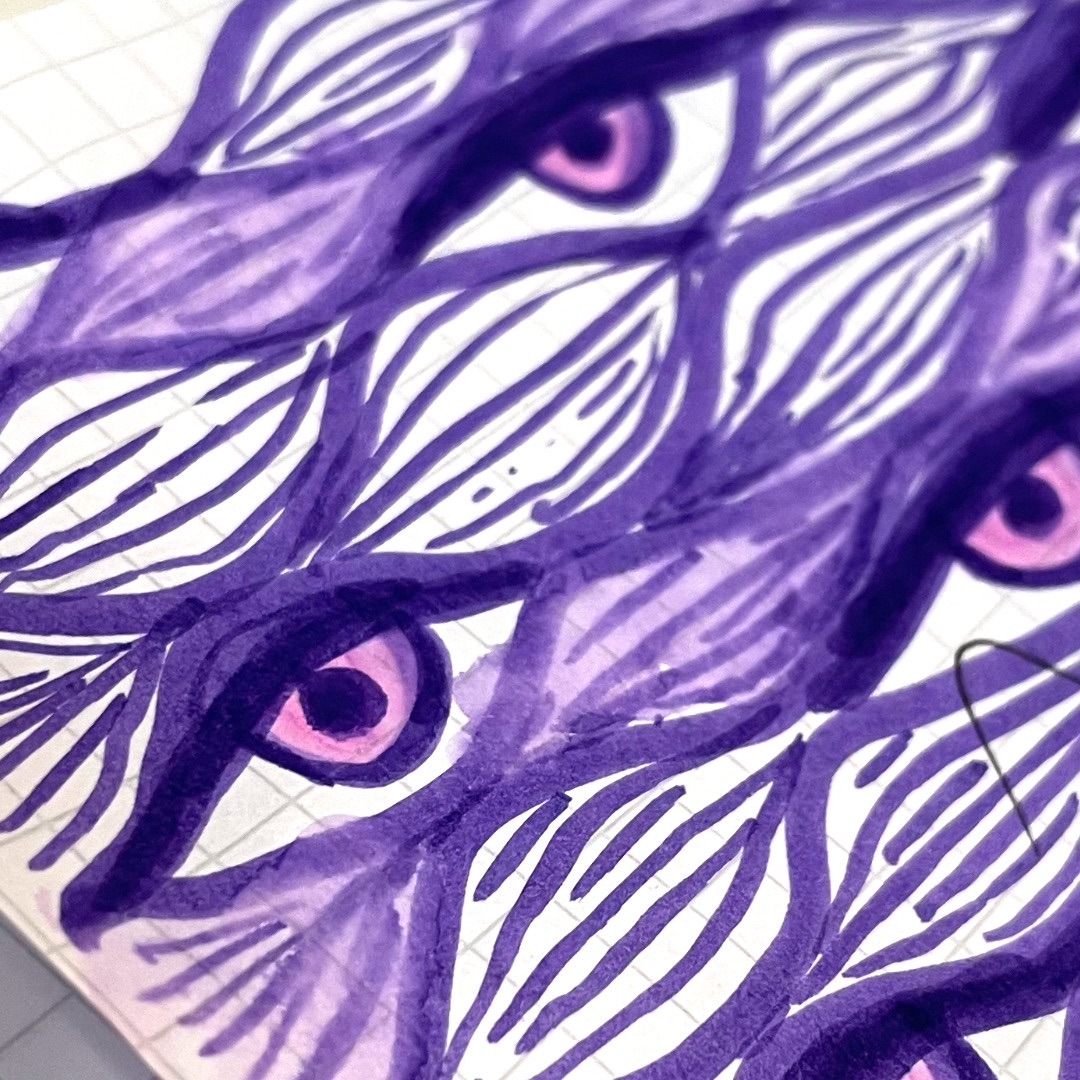
This little sketchy series came from just trying out some of the watercolor brush pens of my kids. I actually started with a totally different idea in mind—I thought I’d sketch a shape to turn into metal wire elements for a bracelet chain. I could picture hammering out this organic, wavy shape, turning it into something solid and wearable.
But once I started sketching, these eyes and flowing shapes just started showing up, almost on their own. I didn’t plan for it; they just kind of… appeared. The purple ink, with its watery spots and splashes, really brought out this organic, almost alive quality, and I leaned into that. Some of the eyes ended up pink, adding this odd, dreamlike vibe that I hadn’t expected.
Looking at these sketches now, they feel more like they belong to their own little world. It’s funny how something as simple as testing out pens can take you in a whole new direction! Thanks for taking a look, and let me know if any of these sketches resonate with you—I’m glad to share the surprises that came out of such a simple start!
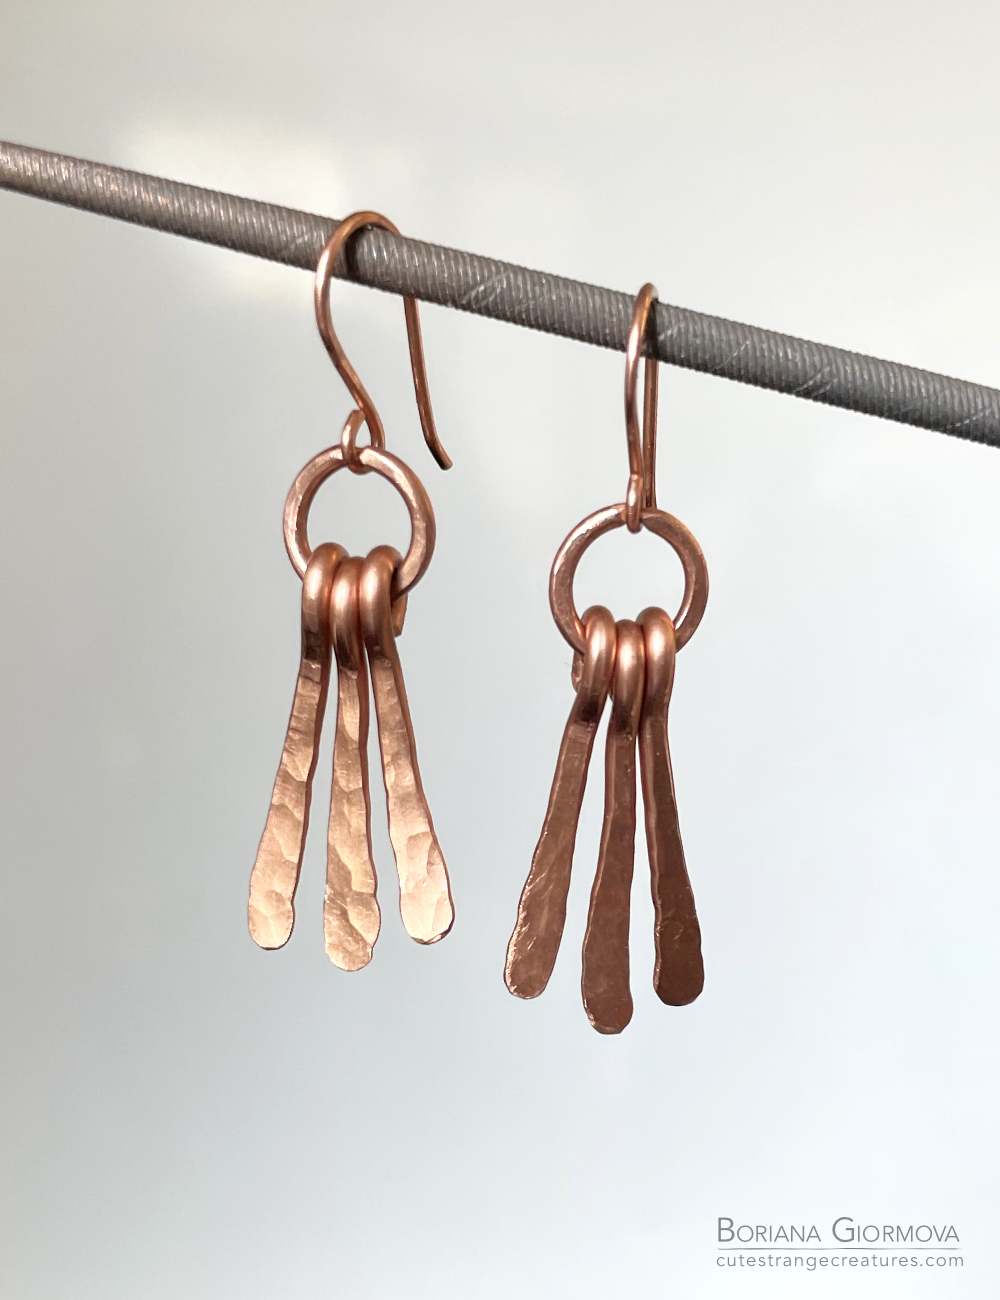
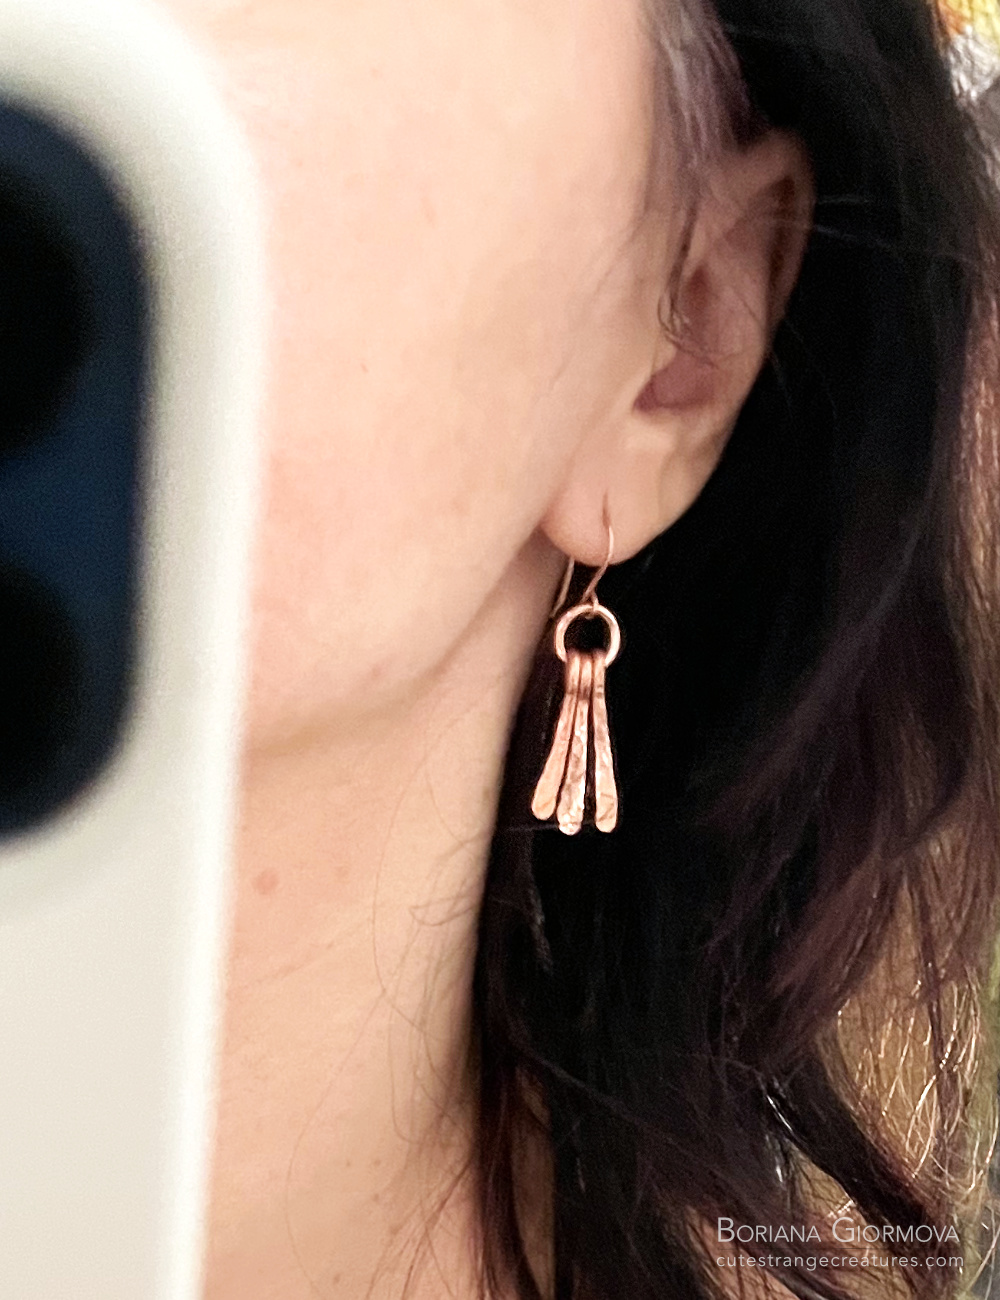
We’ve been in the middle of adding a second floor to our villa (yep, it’s been quite the project). And, as with any construction work, there were a few odds and ends left over—namely, some 2.5 mm and 1.5 mm copper wire. I have been enjoying creating wire wrapped jewelry recently so I couldn’t let them go to waste. They were quite the resource! So I would of course turn them into something wearable – my new favorite dangle earrings! 🧡
I’ve seen similar earring designs on the internet and I’ve been longing to try to make ones for myself. Thanks for the inspiration to all the lovely people who share their creations.
I peeled off the insulation from the leftover copper wire and worked it into the perfect little shapes for earrings. Each one has three hanging elements, making them sway and catch the light just right. There’s something about the hammered texture of copper that I love—it’s rustic yet shiny at the same time. Plus, it’s quite the imperfection so they’re totally one-of-a-kind. 😉
Check out how cool the light shines on them in the video below:
Materials for the earrings:
2.5 mm copper wire for the hanging hammered elements;
1.5 mm copper wire for the rings to which the elements are attached;
anvil – optional, but I truly recommend having one. I used a steel plank before and it was noisy and everything and everyone trembled in horror.
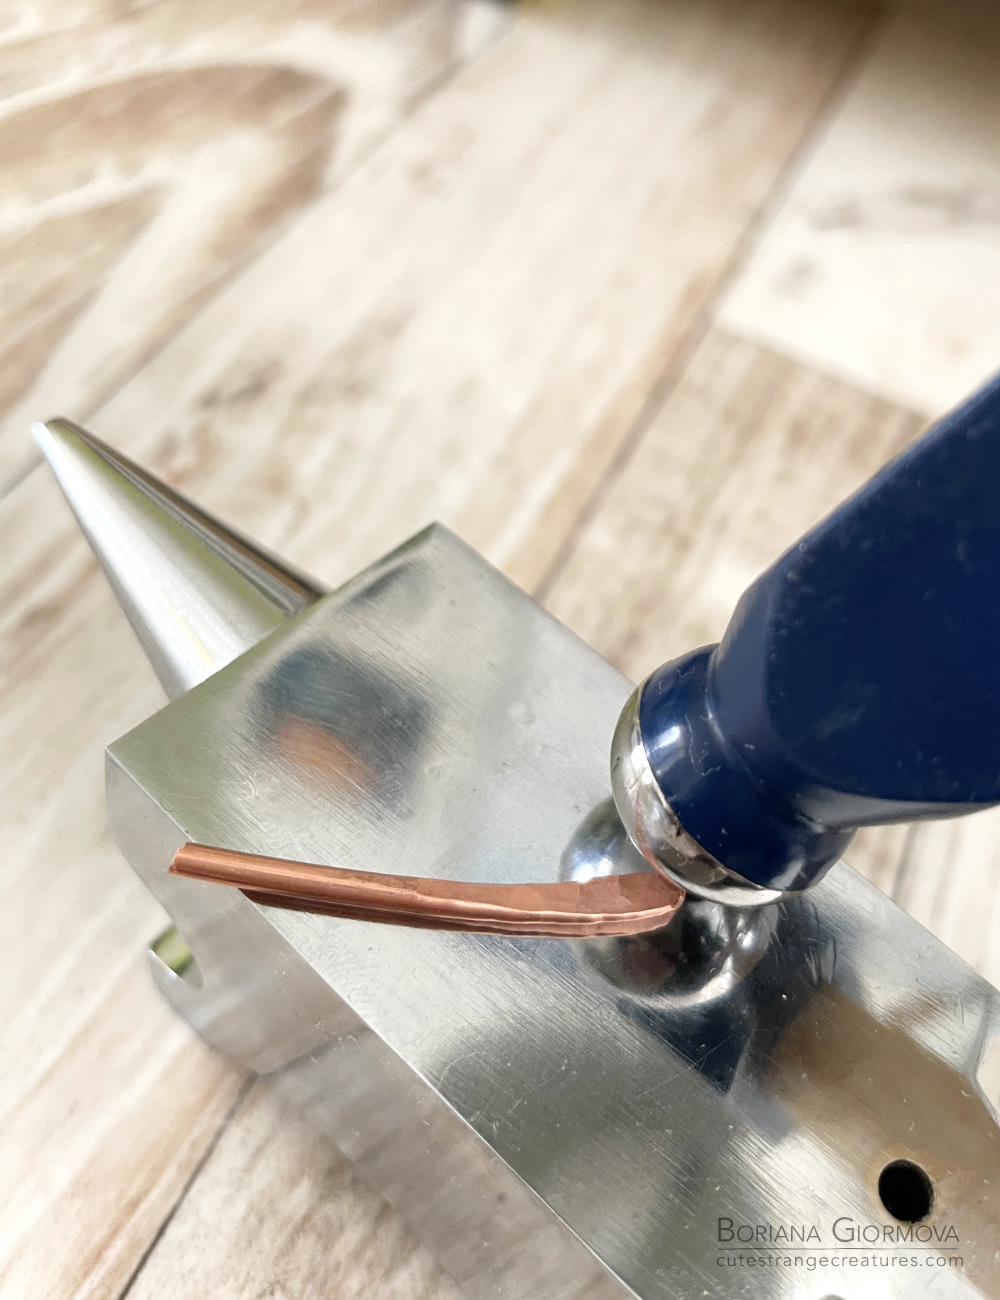
How I made them:
Cut 6 pieces of 2.5 mm wire – each with length of 3 cm;
Hammered each of them leaving the ends intact;
Sanded the sharp ends and polished them so they would become smooth;
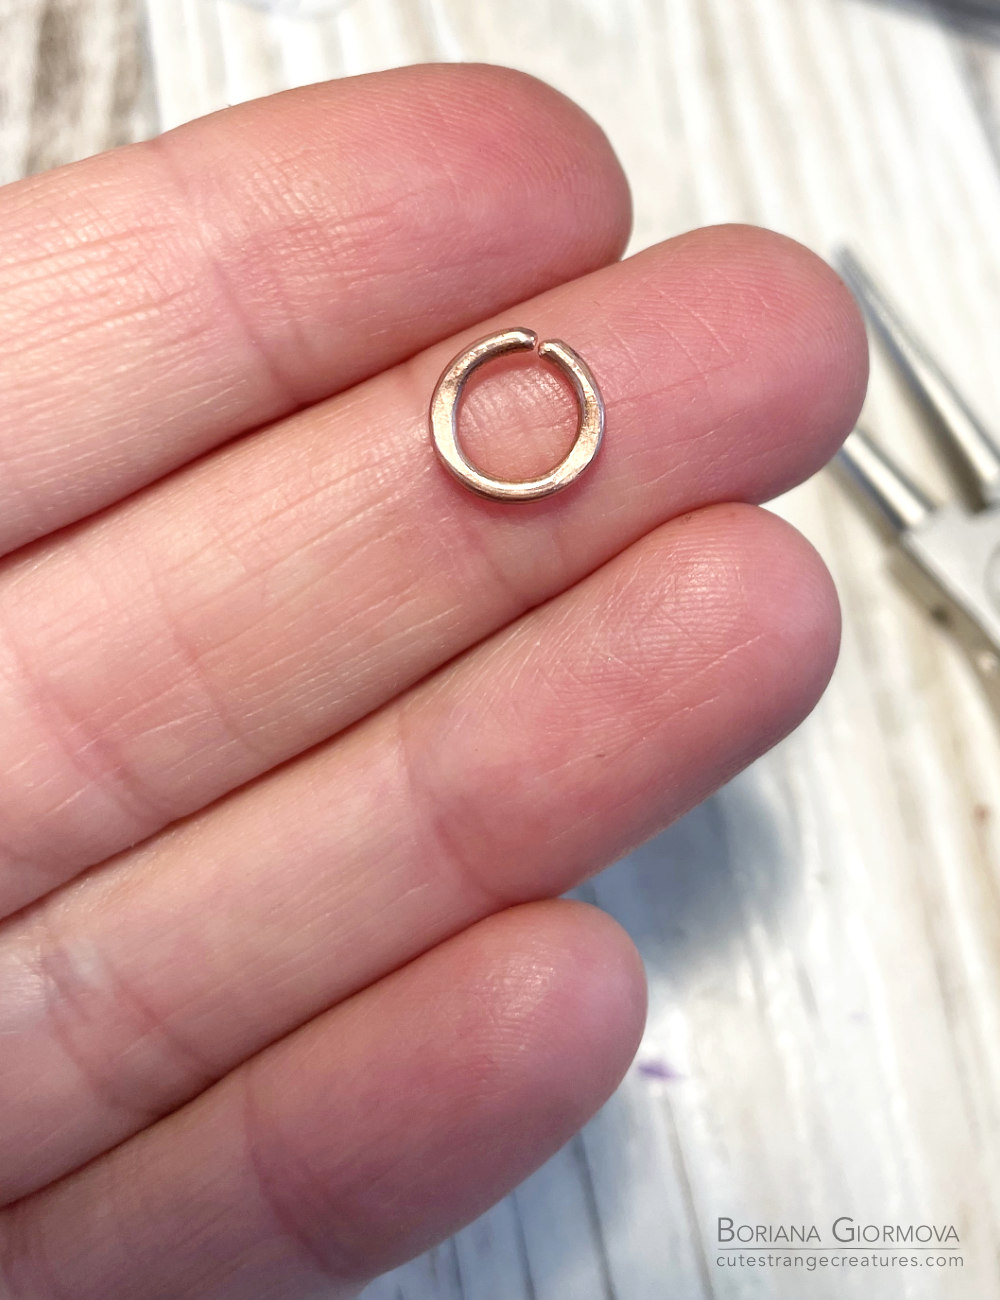
Made loops at the unhammered ends with my round nose pliers;
Made two rings from 1.5 mm wire;
Hanged 3 hammered pieces on a ring for each earring;
Made two simple ear wires from 1 mm wire;
Hanged the elements on the ear wires and the earrings were ready.
Here are some in-progress shots:
Not only do these earrings add a bit of handcrafted flair, but they’re also a little reminder of our ongoing villa project. Who knew construction leftovers could look this good?
I’m now thinking of adding earrings like these to my Etsy store. Now I just have to go to the villa to get my valuable resource and continue crafting.
As an independent artist with over 500 designs in my Artist Shop on Threadless.com, I’m thrilled to share two of my personal favorites that have recently come to life as actual products.
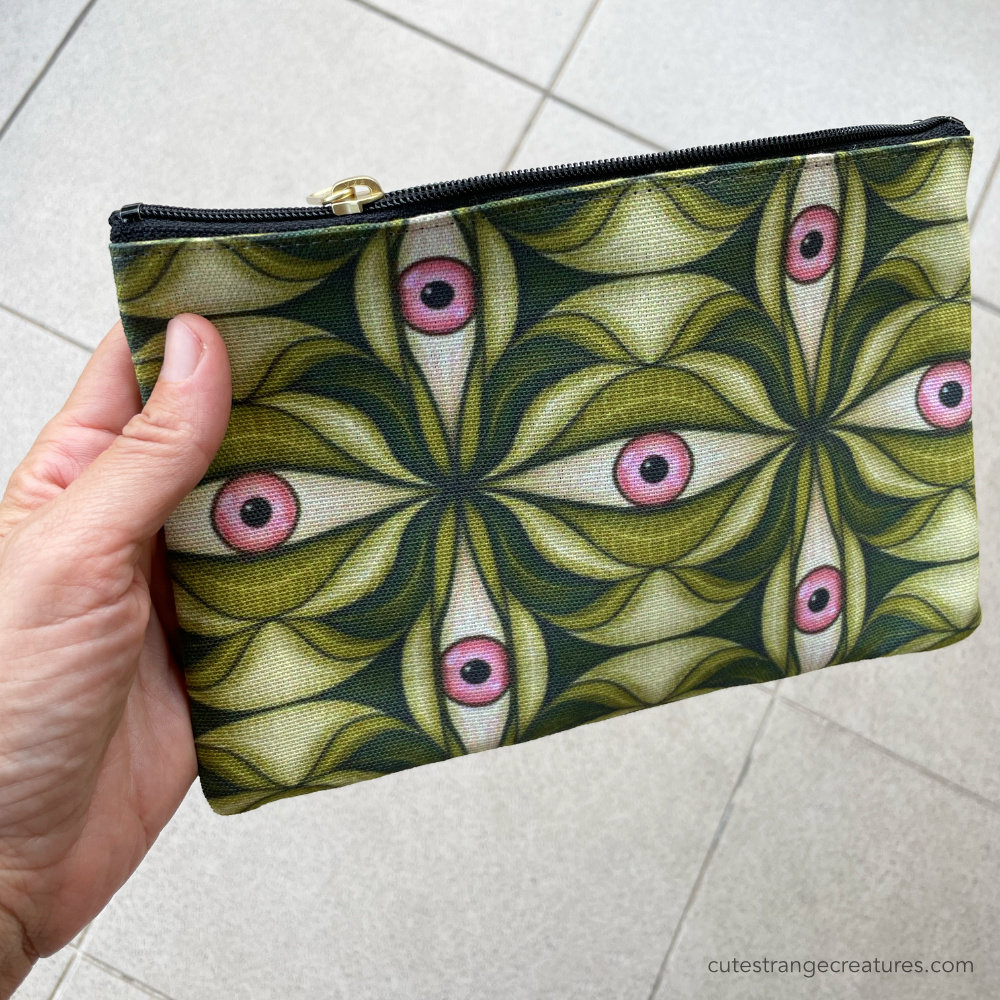
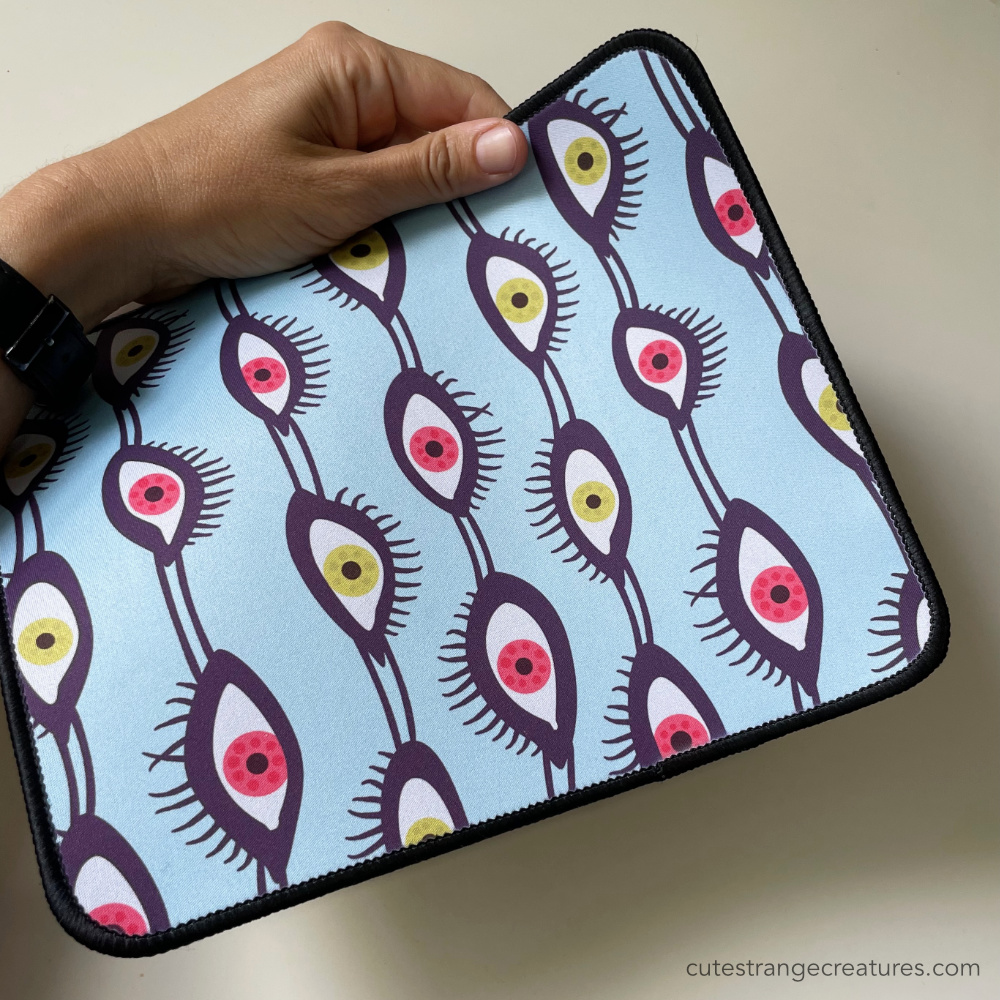
Threadless reached out and offered me a unique coupon in order to see some of my existing designs in real life, make photos of them, use them, gift them, do whatever I like with them. I was thrilled. After much deliberation, I chose two pieces that resonate deeply with my artistic vision: a zip pouch featuring a seamless pattern of weird eyes, surrounded by lush green botanical elements:
I’m absolutely delighted with how both designs have turned out. The quality is exceptional, and I love using them as a part of my daily routine. It’s a great feeling to see my art come to life in such tangible forms.
If you’re an artist or design enthusiast looking for inspiration, I hope you enjoy browsing through my Artist Shop on Threadless.com and maybe try out opening a shop yourself. It’s easy and fun! Plus, it brings an immense feeling a satisfaction when someone purchases stuff with your designs.
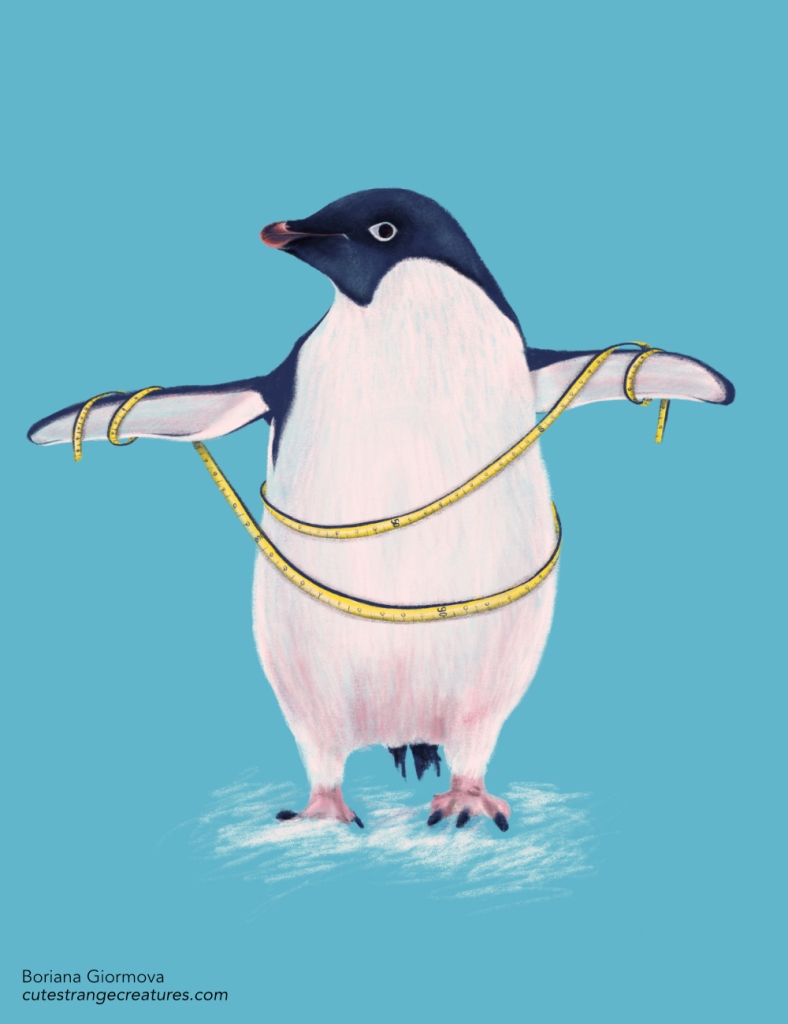
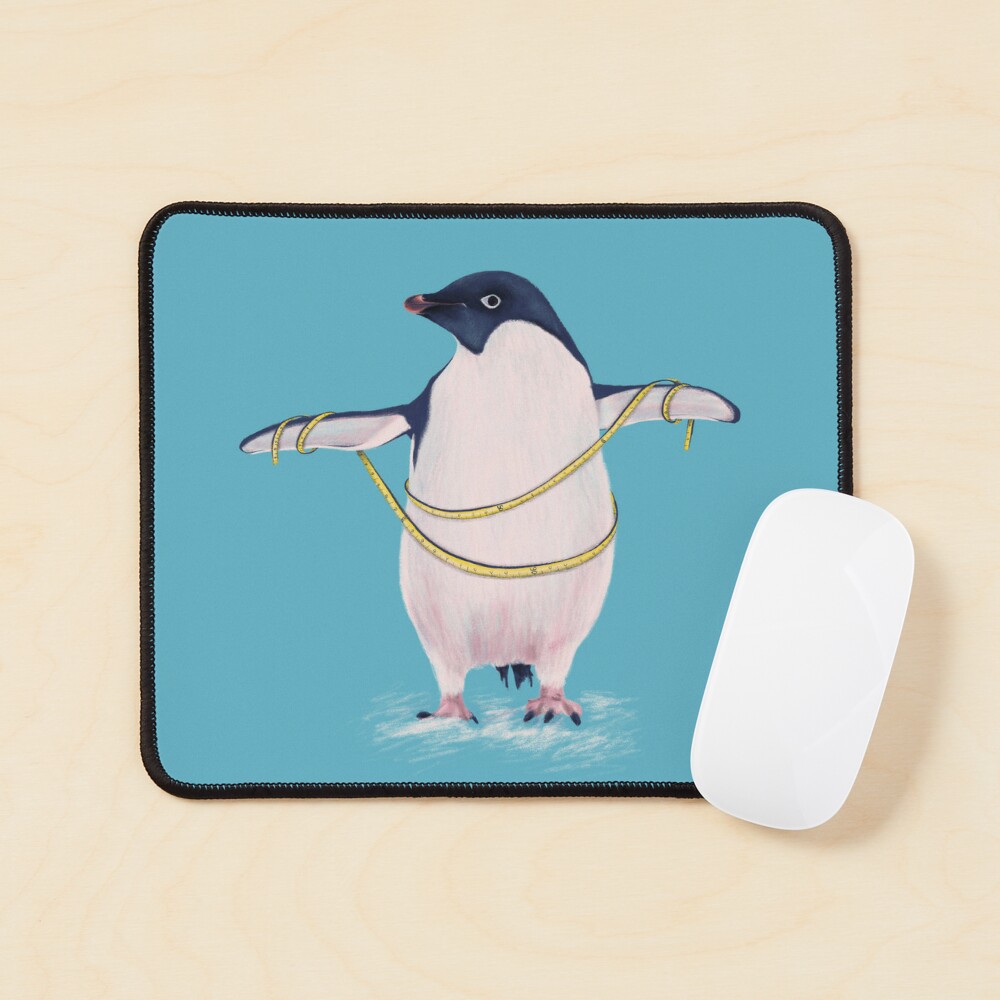
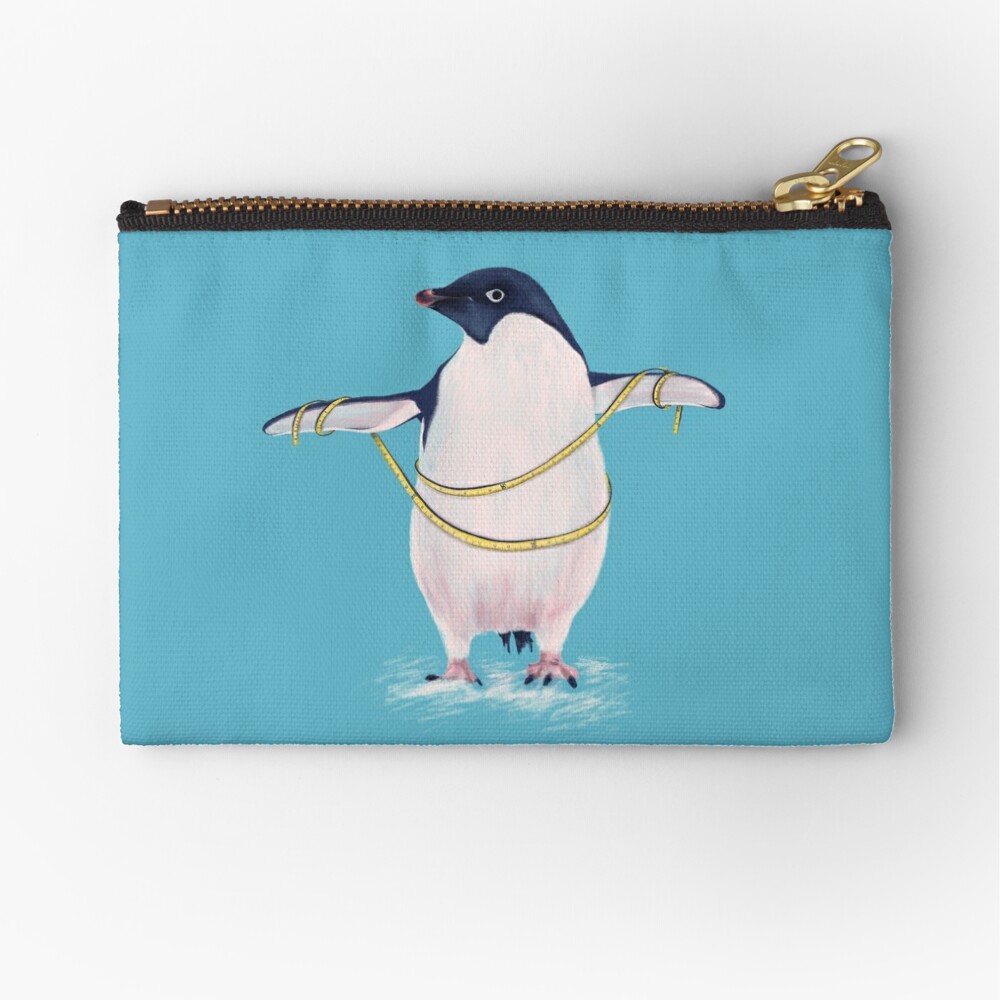
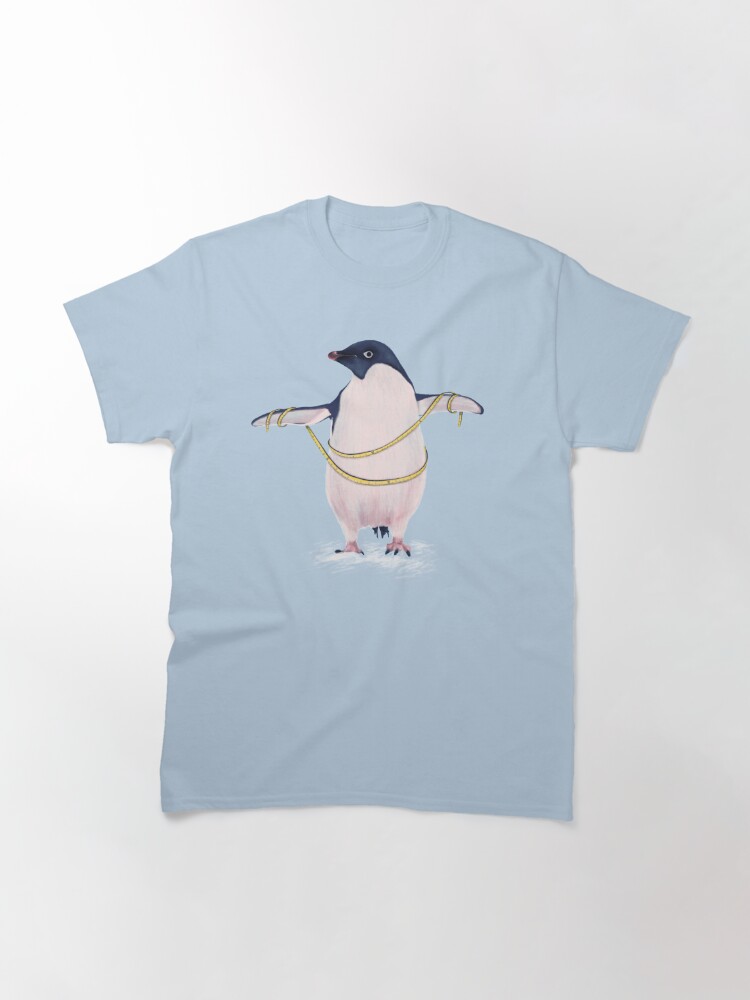
In this fun digital illustration, I drew a whimsical scene that shows a penguin’s inner struggles with body image. This charming character is convinced that it’s gained a few pounds (or should I say, flaps?). This poor penguin is frantically trying to measure its waist circumference with a sewing meter, convinced that it’s not quite… well, flappy enough.
But here’s the thing: this penguin’s physical appearance is completely normal! It’s just a penguin doing its penguin thing. Yet, our feathered friend has developed a false negative self-image, convincing itself that it’s somehow flawed or imperfect. This illustration is a nod to the absurdity of body shaming and the importance of embracing our unique qualities.
As we navigate our own insecurities, it’s easy to get caught up in negative thoughts about our bodies. But what if we could reframe our relationship with our physical selves? What if we accepted that it’s okay to not be perfect? This illustration is a reminder that everyone struggles with self-doubt, and that embracing our quirks is on of the keys to something close to happiness.
So, if you’re feeling like this penguin – convinced you’re not quite good enough or that your flaps are too fluffy I just want to remind you that it’s okay to be imperfect. It’s okay to have flaws. And it’s more than okay to experience yourself just the way you are without unnecessary negativity.
Thanks for reading this!
Art prints, T-Shirts and more with this cute animal are available at my Redbubble store:
Today, I want to share a small but incredibly satisfying project that transformed how I organize my tools: a 3D printed mini pliers divider for a cardboard box. It was fairly easy to do this only with my basic Blender skills. Here’s how I turned a humble cardboard box into a nicely organized tool storage solution.
The Box
The starting point of this project was the cardboard box from my AirPods. It was sturdy, clean, white, the perfect size for my set of mini pliers, and had been lying around unused.
Before diving into the design, I measured the internal dimensions of the box. Accurate measurements were crucial for ensuring the divider fits perfectly. It had to be tight so as not to move when I pick up and put the pliers in their places.
Divider Design in Blender
With the measurements in hand, I opened Blender and started designing the divider. Here’s a simple way to approach the design:
Created a base. Started with a rectangular base matching the internal dimensions of my box. Made the base’s dimensions 95mm x 95 mm x 2 mm.
Added the dividers. Designed vertical walls that would act as the slots for my five pairs of pliers. I spaced these out evenly, considering the width of my pliers. (Umm… I have to confess walls are almost evenly spaced – I was eager to see it finished.)
Checked the height. Ensured the height of the dividers is slightly less than the height of the box so they fit snugly without protruding.
Cut holes on the base with boolean modifiers because I wanted to use as little material as possible.
Printed the Divider
After completing the design, I exported the file as an STL and loaded it into my 3D printer software. I printed the divider on my Anycubic Kobra 2 Pro using clear PLA filament, which is both sturdy and easy to print with. And a what a wonder! It printed well from the first time. (Unlike most of my other 3d printing projects.)
Fit the Divider into the Box
Once the print was done, I carefully removed it from the printer, cleaned the brim and placed it into the cardboard box. To my delight, it fit perfectly! The measurements and design paid off, and the divider sat snugly inside the box.
Placed a Sticker
Printed a sticker with one of my latest designs and slapped it on the logo to hide it. The box had to be personalized to the bone.
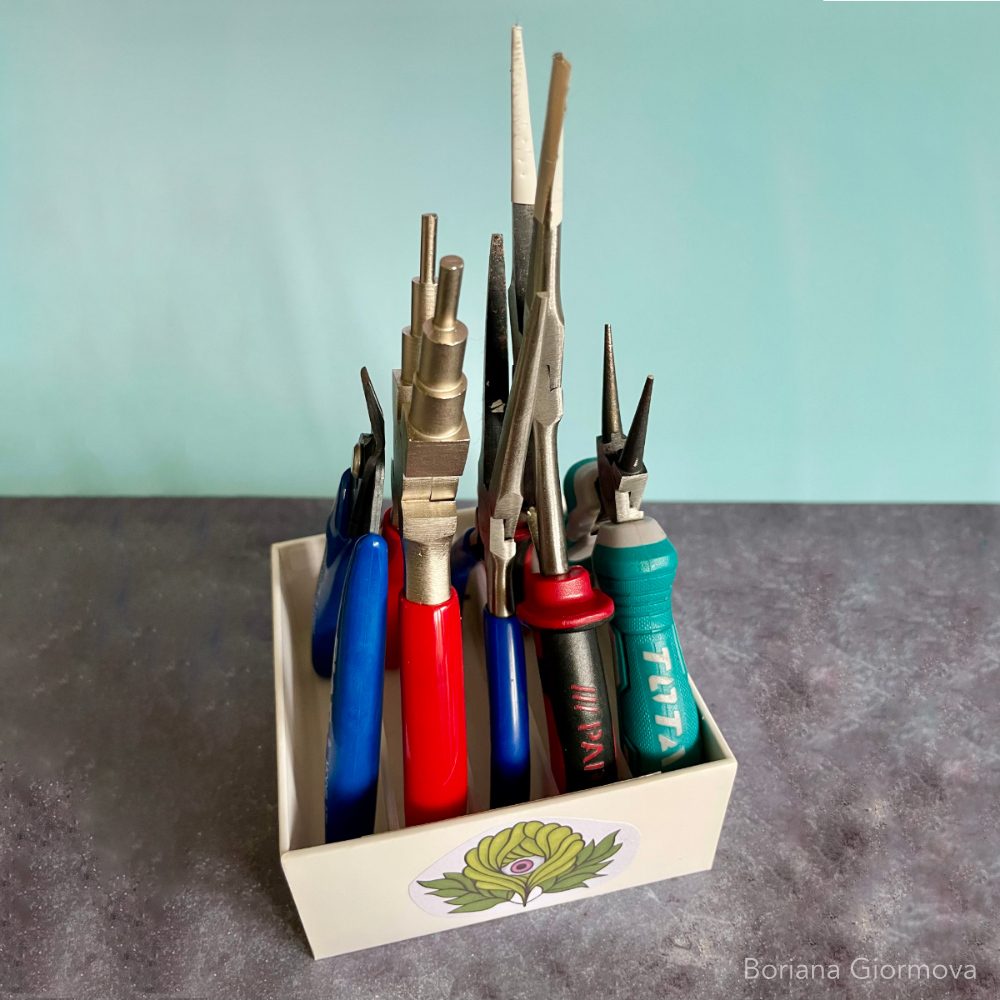
Put My Lovely Pliers in Their New Home
With the divider in place, I organized my pliers into the slots. They fit beautifully, each in their own compartment. No more rummaging around to find the right tool – everything is now in order and easily accessible.
Last Words (Not my last, just for the post. Oh, well…)
This simple project was immensely satisfying. Not only did I repurpose an old box, but I also used my 3D printing skills to create something incredibly functional. Now, my pliers are always in order, and I have a neat, organized tool storage solution.
If you’re looking for a practical and rewarding DIY project, I highly recommend giving this one a try.
Also, you can download my STL file for free here. In case you have the same box. Lay it flat in your slicing software as it will be used. Shapes are simple and no supports are needed. Just print it with brim so it sticks well to the printer plate. Have a nice time creating!
Lastly, if there is something not quite clear, you can always ask me in a comment. 🙂
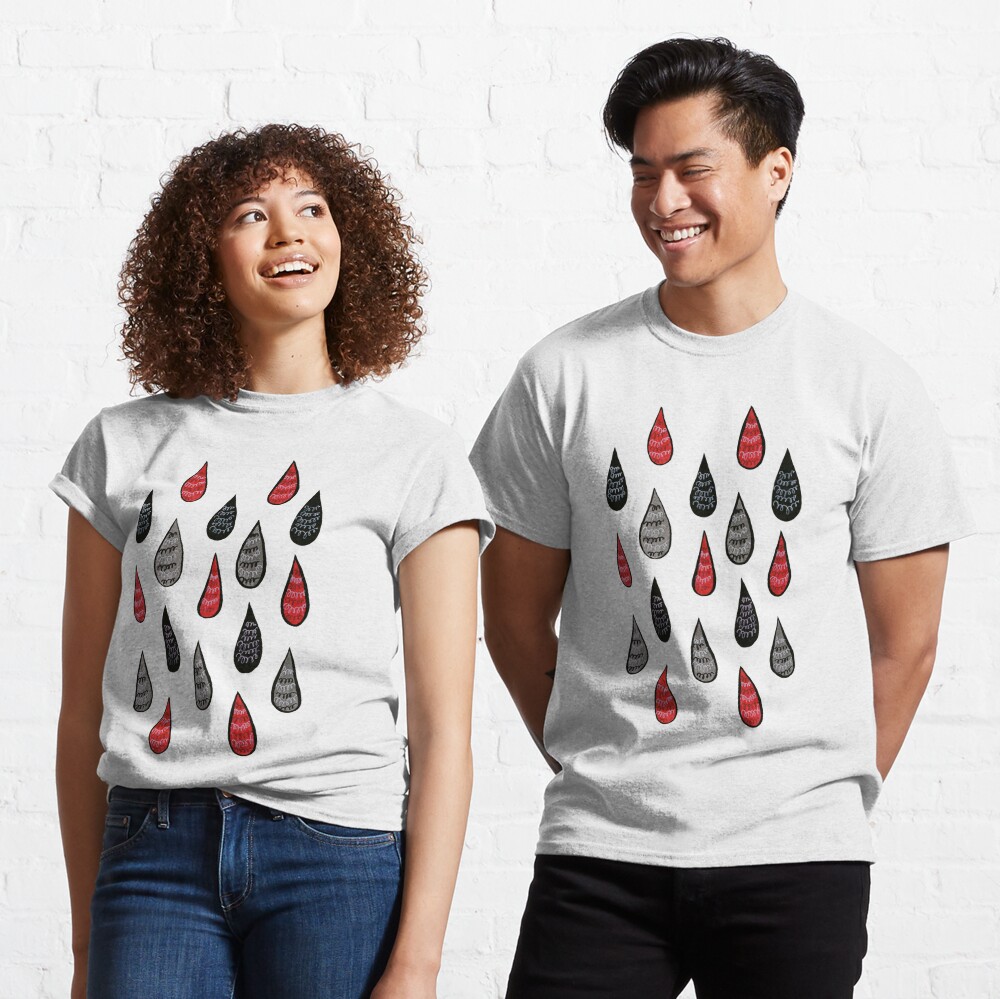
It’s time to present another of my artworks. This time it features some delightfully weird rain drops forming a graphic design that captures the beauty and oddity of rain patterns in an abstract ink drawing. This piece features a unique pattern of raindrops with strange scribbled designs, created using red, black, and grey ink.
At first glance, the red raindrops may resemble blood drops, adding a layer of intrigue and mystery to the design. However, the odd and whimsical feel of the artwork is what makes it cheerful and fun and not gloomy at all. This piece is perfect for anyone who finds inspiration in rainy weather and enjoys the strange and unusual.
Here is the drawing in my sketchbook:
I used my Copic markers in shades of grey and black and red Zig twin brush markers. The ink brushes allow for a more free-form and unpredictable pattern which is fun. All in all I like the contrast which the black ink outlines add to this design.
If by any chance you want to bring this darkly whimsical design into your everyday life, you’re in luck! This artwork is available for purchase on art prints and a variety of products at my Redbubble store. Products like these:
Overall, these weird rain drops want to make you see rain patterns in a new and abstract way. Their quirky feel makes them a perfect addition to any collection that celebrates the beauty of the strange and unusual.
Um, thanks for staying with me to the end of the post.
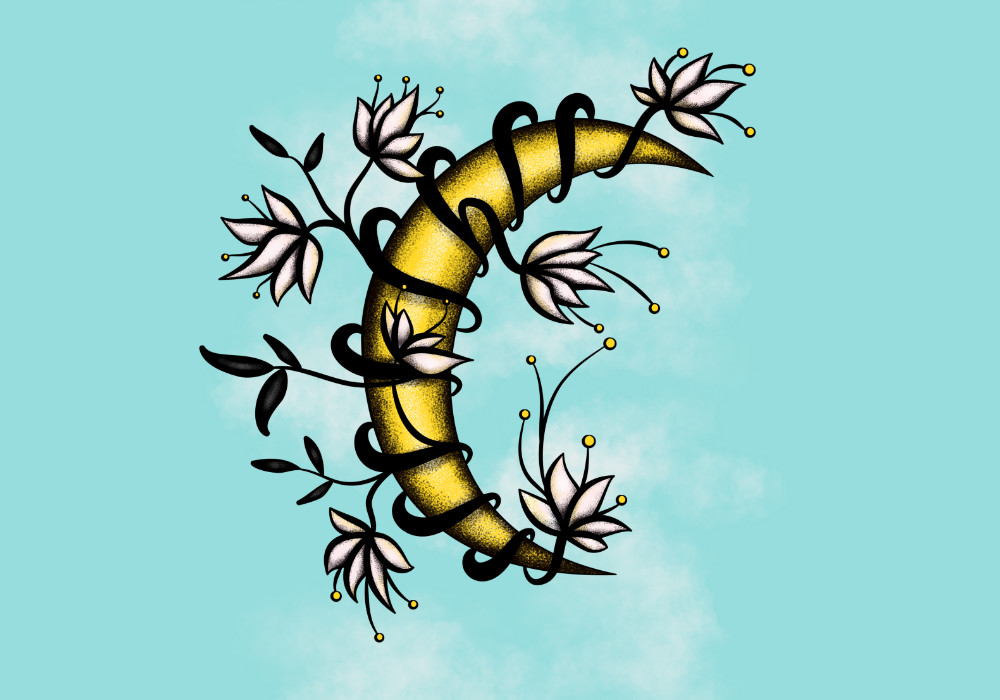
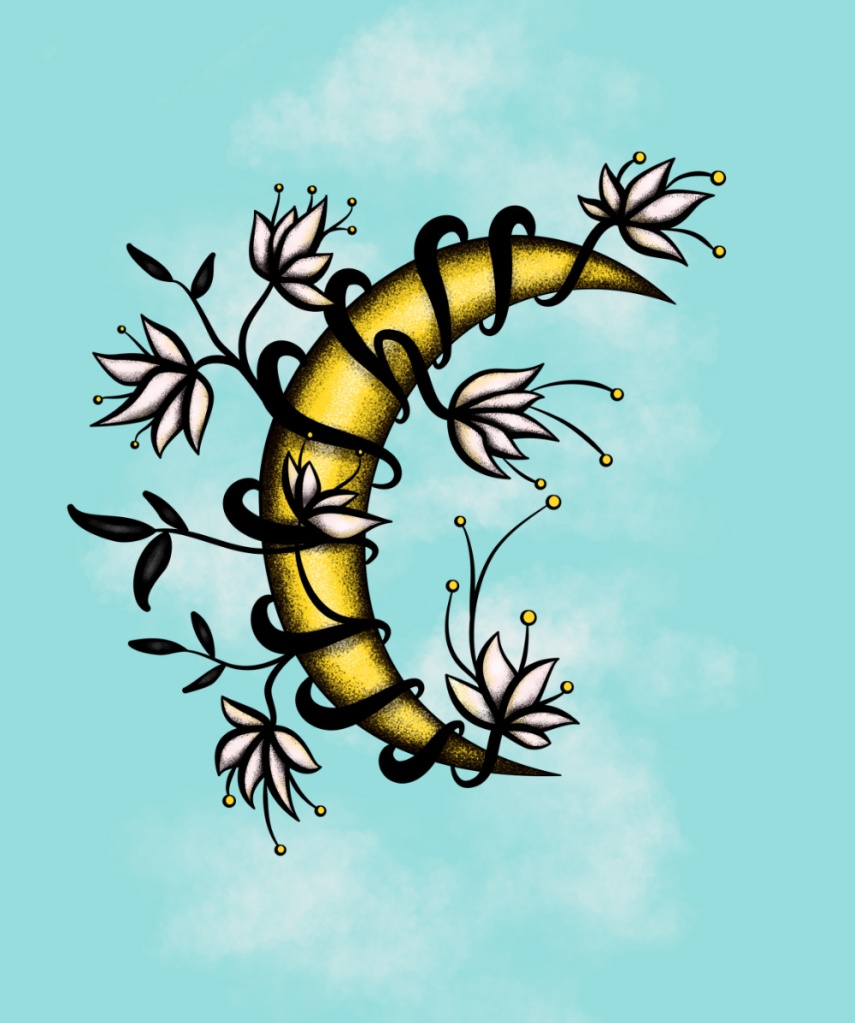
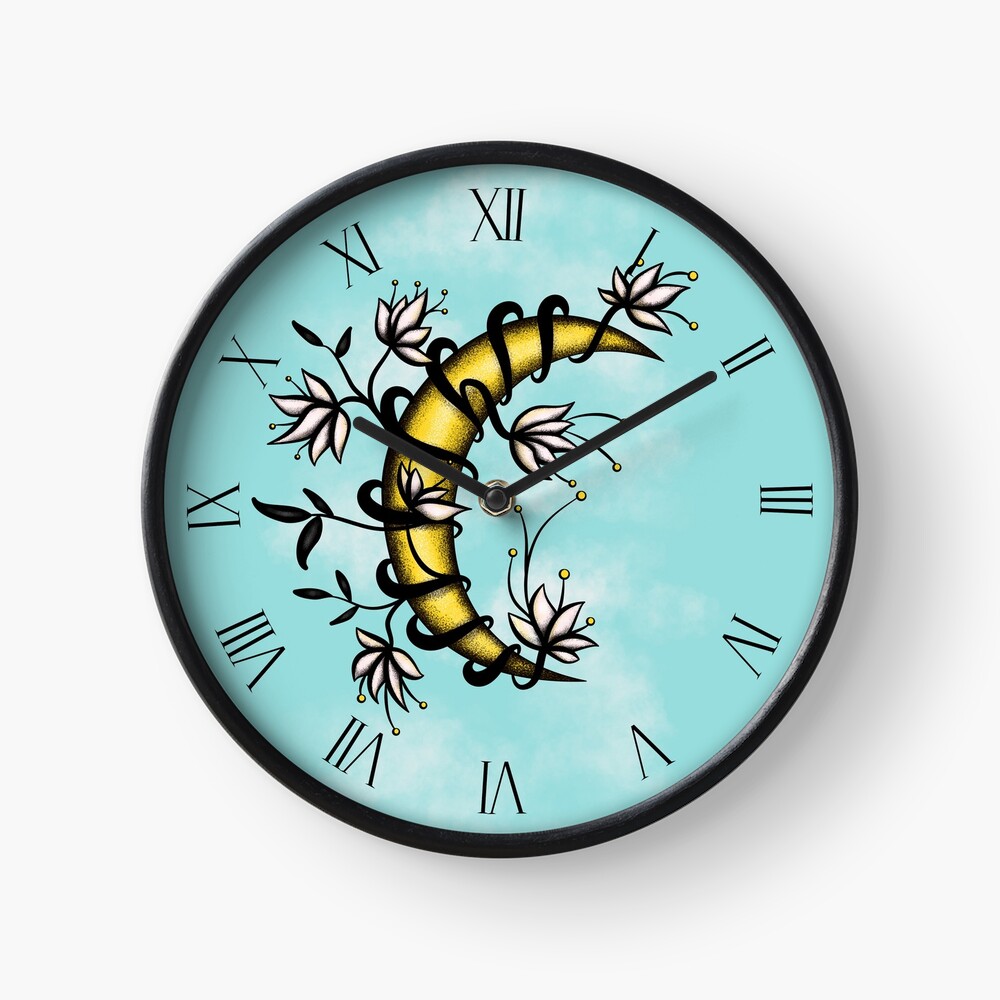
I’ve always been fascinated by tattoo art. I love its contrast and the strong messages it brings. This sometimes makes me draw stuff which is not very original but I really feel like drawing it at that time. One of these artworks is this simple crescent moon wrapped in flowers resembling lotuses. The blossoms wrap the moon like a long floral black snake-like liana. The celestial body, outlined in bold ink strokes, contrasts with a simple dreamy light blue background with transparent clouds drifting by.
About the art style
This piece merges my fascination with the beauty of nature and the high coolness factor of tattoo art. The symbiotic existence between the floral blooms and the moon creates a harmonious balance. The choice of colors – soothing blues and whites – aims to evoke a sense of peace and serenity while the black keeps the edginess of the image. I drew the illustration in Affinity Designer which makes it very easy to draw beautiful shapes which was needed for the moon.
What made me draw this image
This type of flowers is a frequent theme in my art. I just love these simple elegant shapes and they are very pleasant to draw. The image was directly inspired by my sister because shes was thinking of getting this kind of tattoo to complement the tattoo of this cat which I drew for her.
About the symbols in the artwork
The moon symbolizes change, renewal, and the passage of time, reflecting the cyclical nature of life. In contrast, lotus flowers represent purity, enlightenment, and resilience, emerging from muddy waters to bloom beautifully. Together, they embody transformation, growth, and the journey towards spiritual awakening. Peace and growth, to sum up. But if you ask me about my personal associations, everything is about magic, fairytales, fantasy books and fascination with the stuff we are not able to ever know.
Products with this design
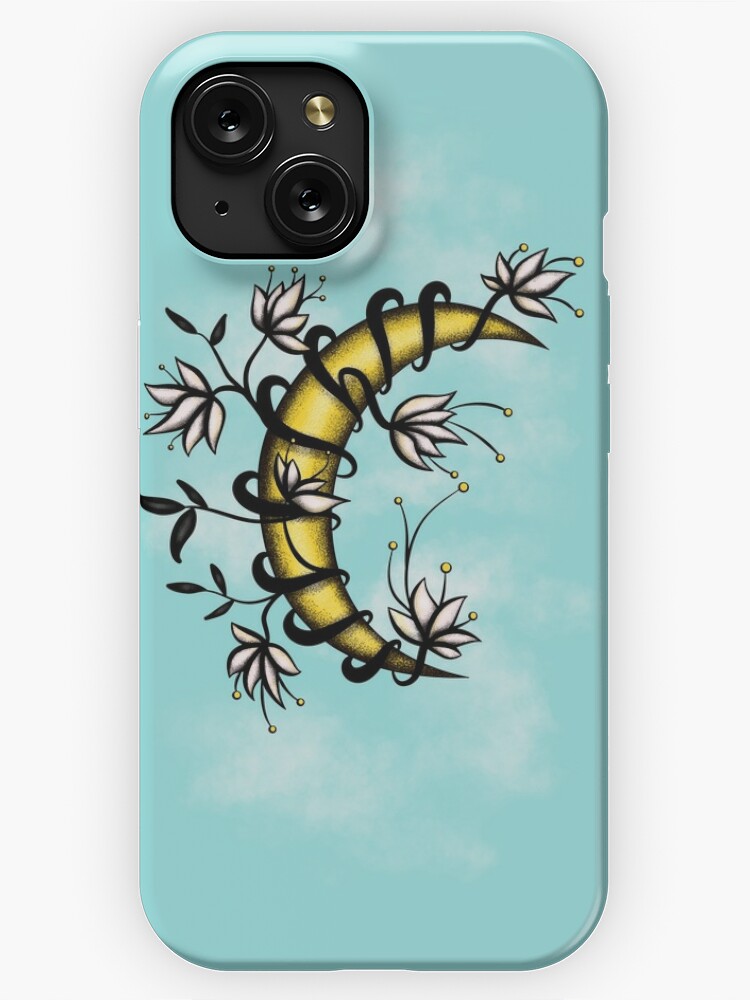
You can now bring a piece of this artwork into your everyday life by purchasing art prints and products with this design. Wall art, tees, phone cases and all kinds of stuff. Like these:
It’s very strange to write about art that I have drawn back in 2019 – some five years ago. Word by word I start to remember details of the time when I drew it. Weird experience. Anyway. Thanks for joining me on my artistic adventures.
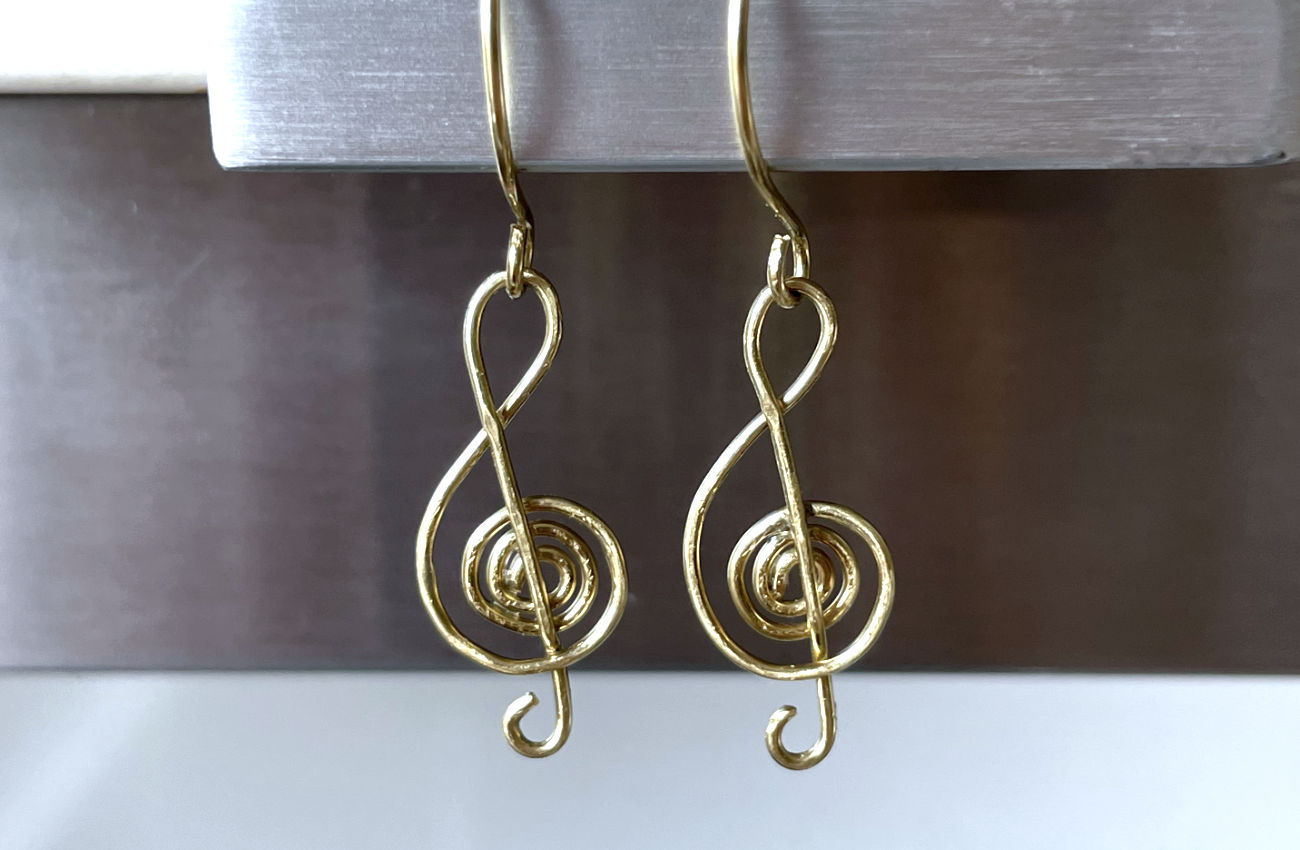
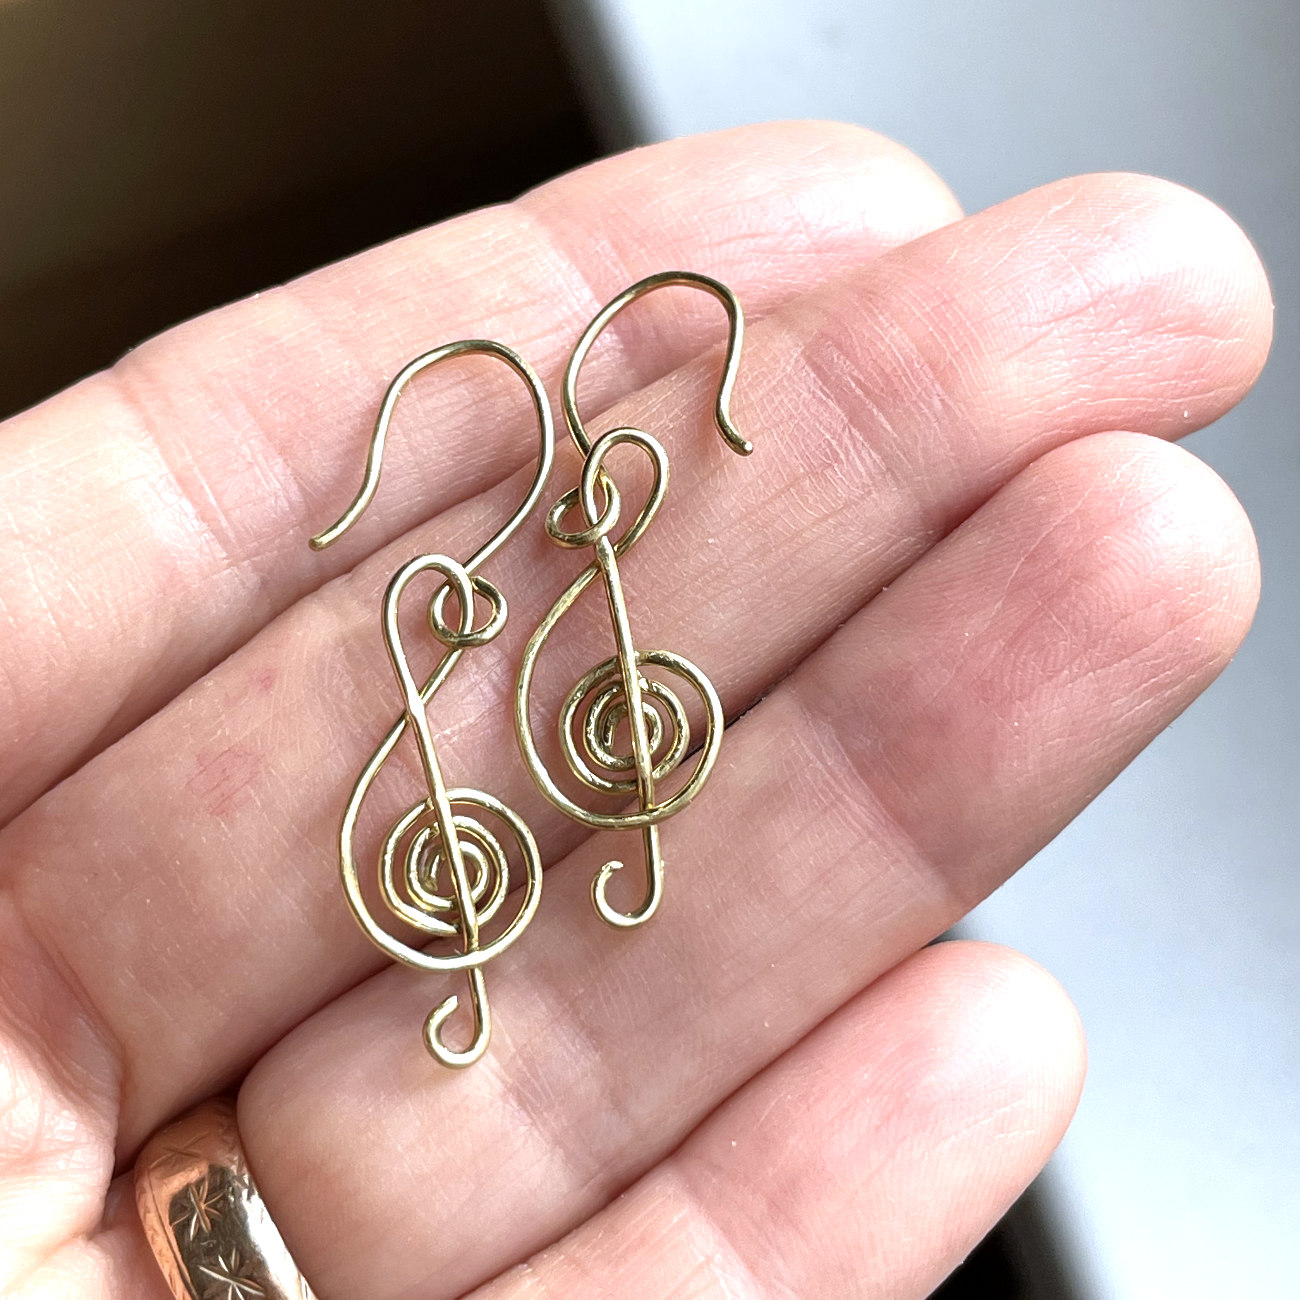
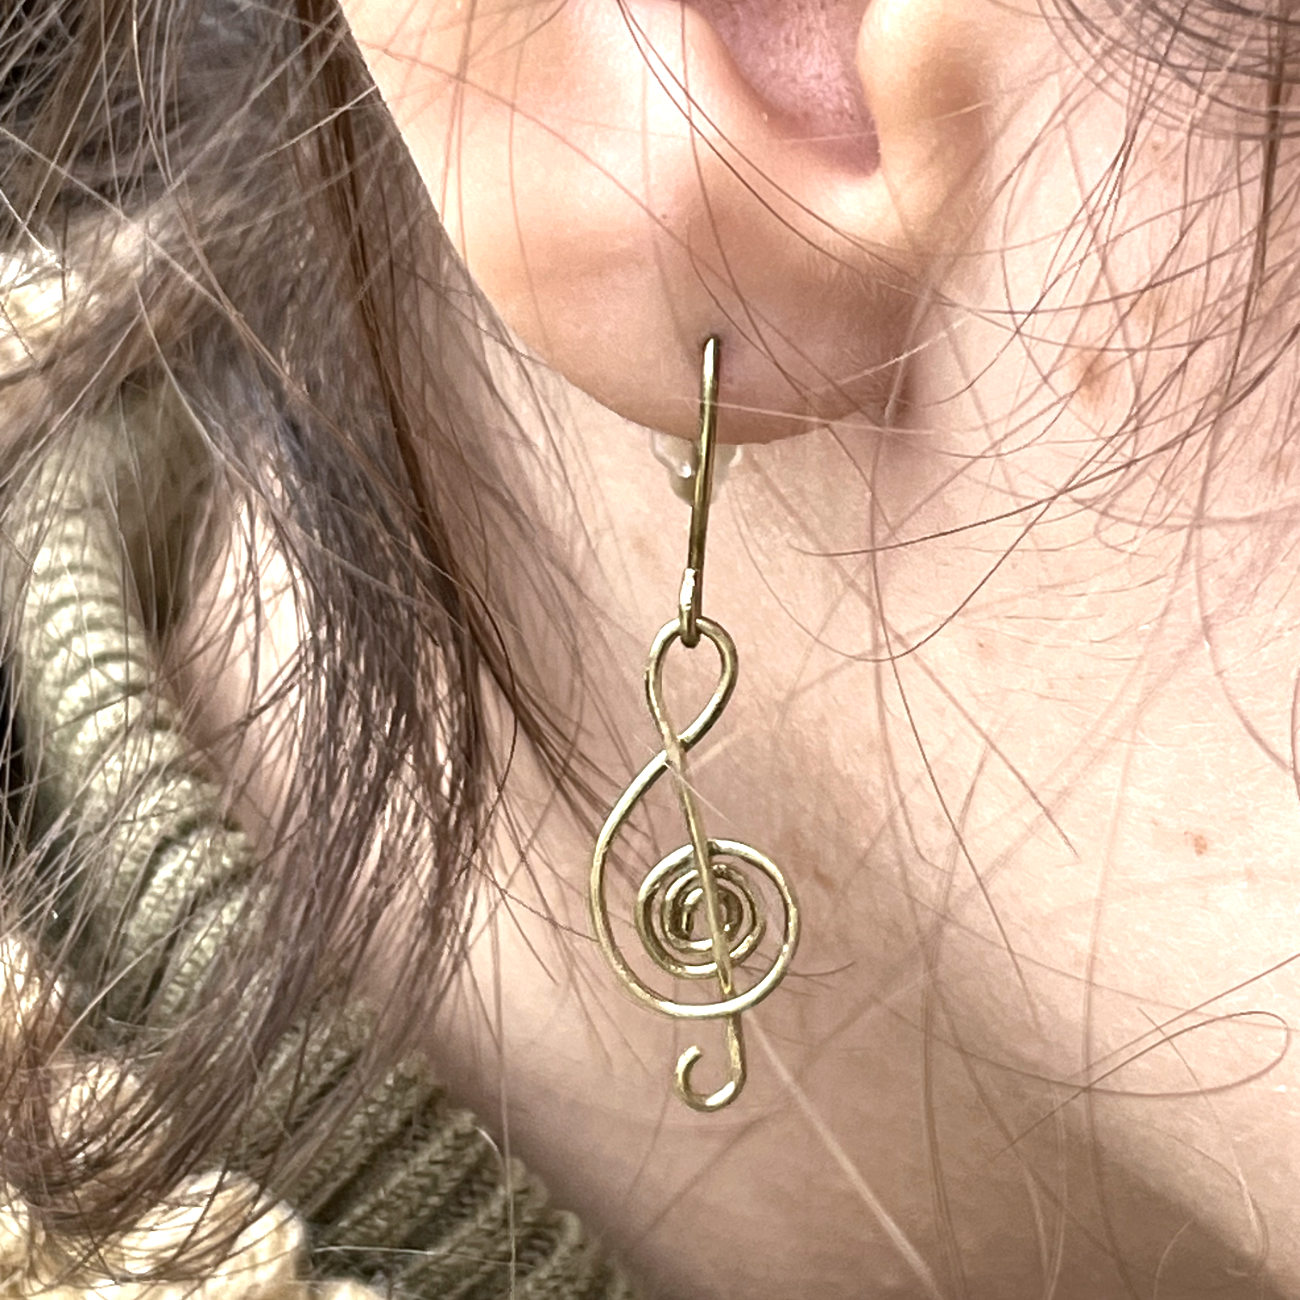
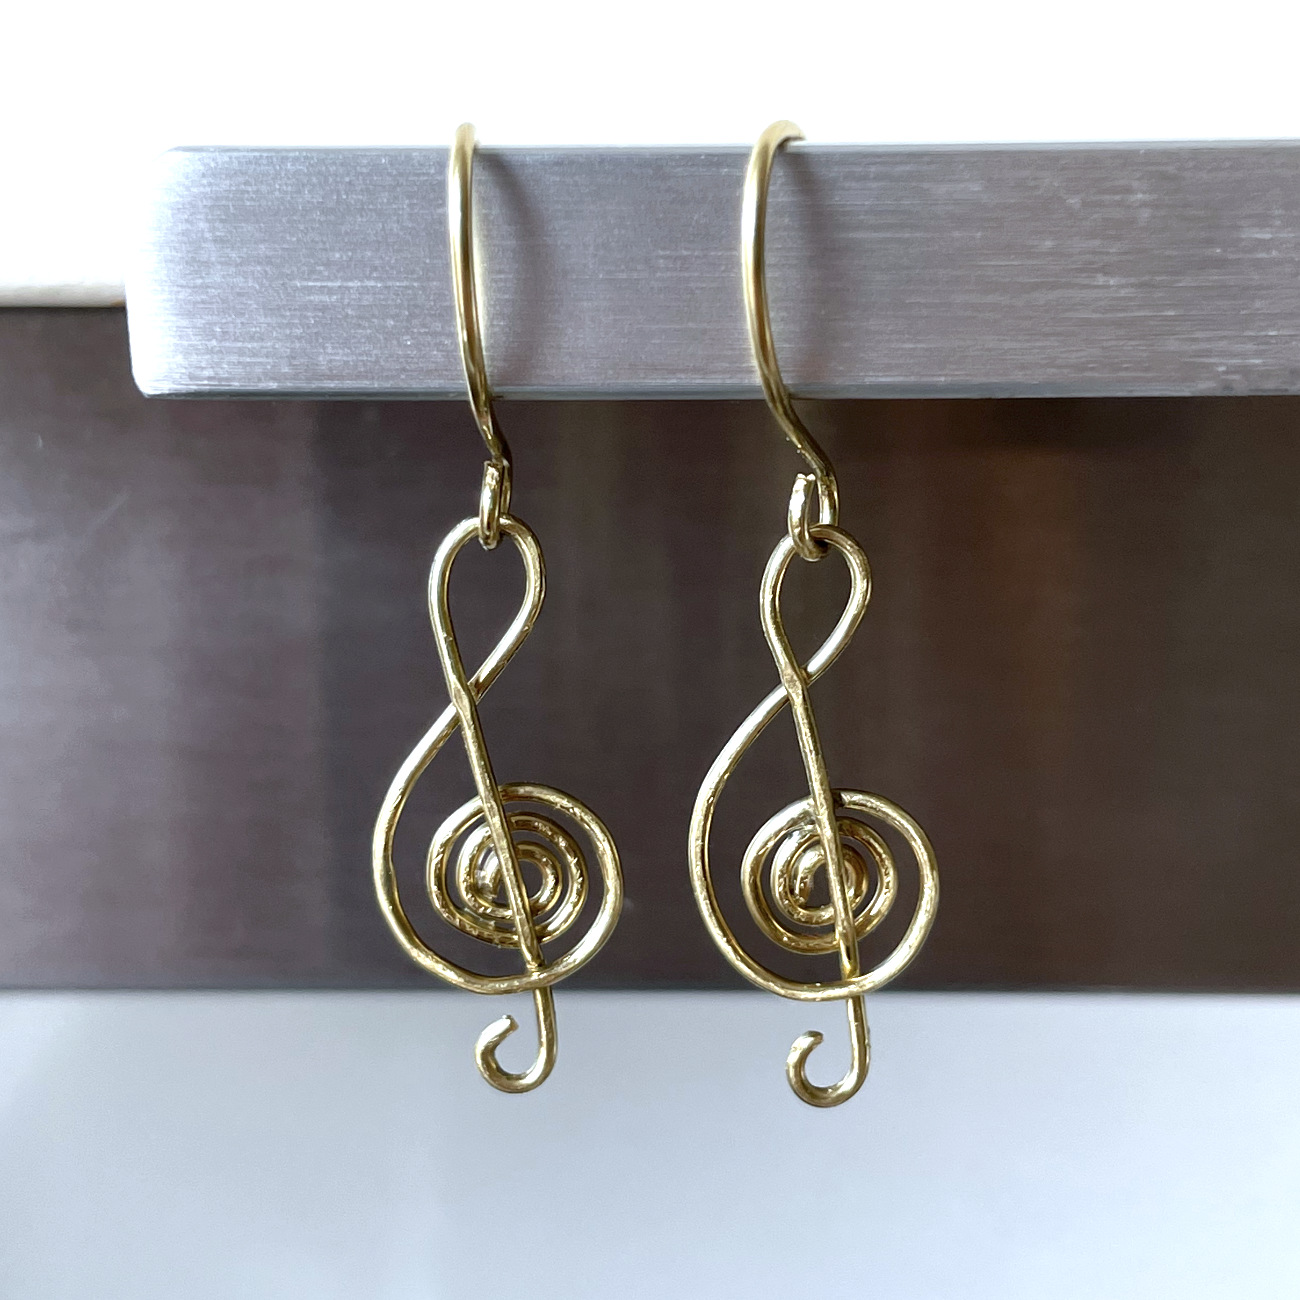
I crafted these earrings for my middle daughter who loves to play the guitar. Brass wire turned out to be a lot harder than the aluminum which I had trained on and the copper wire which I had also tried. Despite of that I managed to leave a lot of unwanted marks on the wire from the pliers. This prompted me to put electrical tape on them for my next project. Anyway, my daughter loved the earrings!
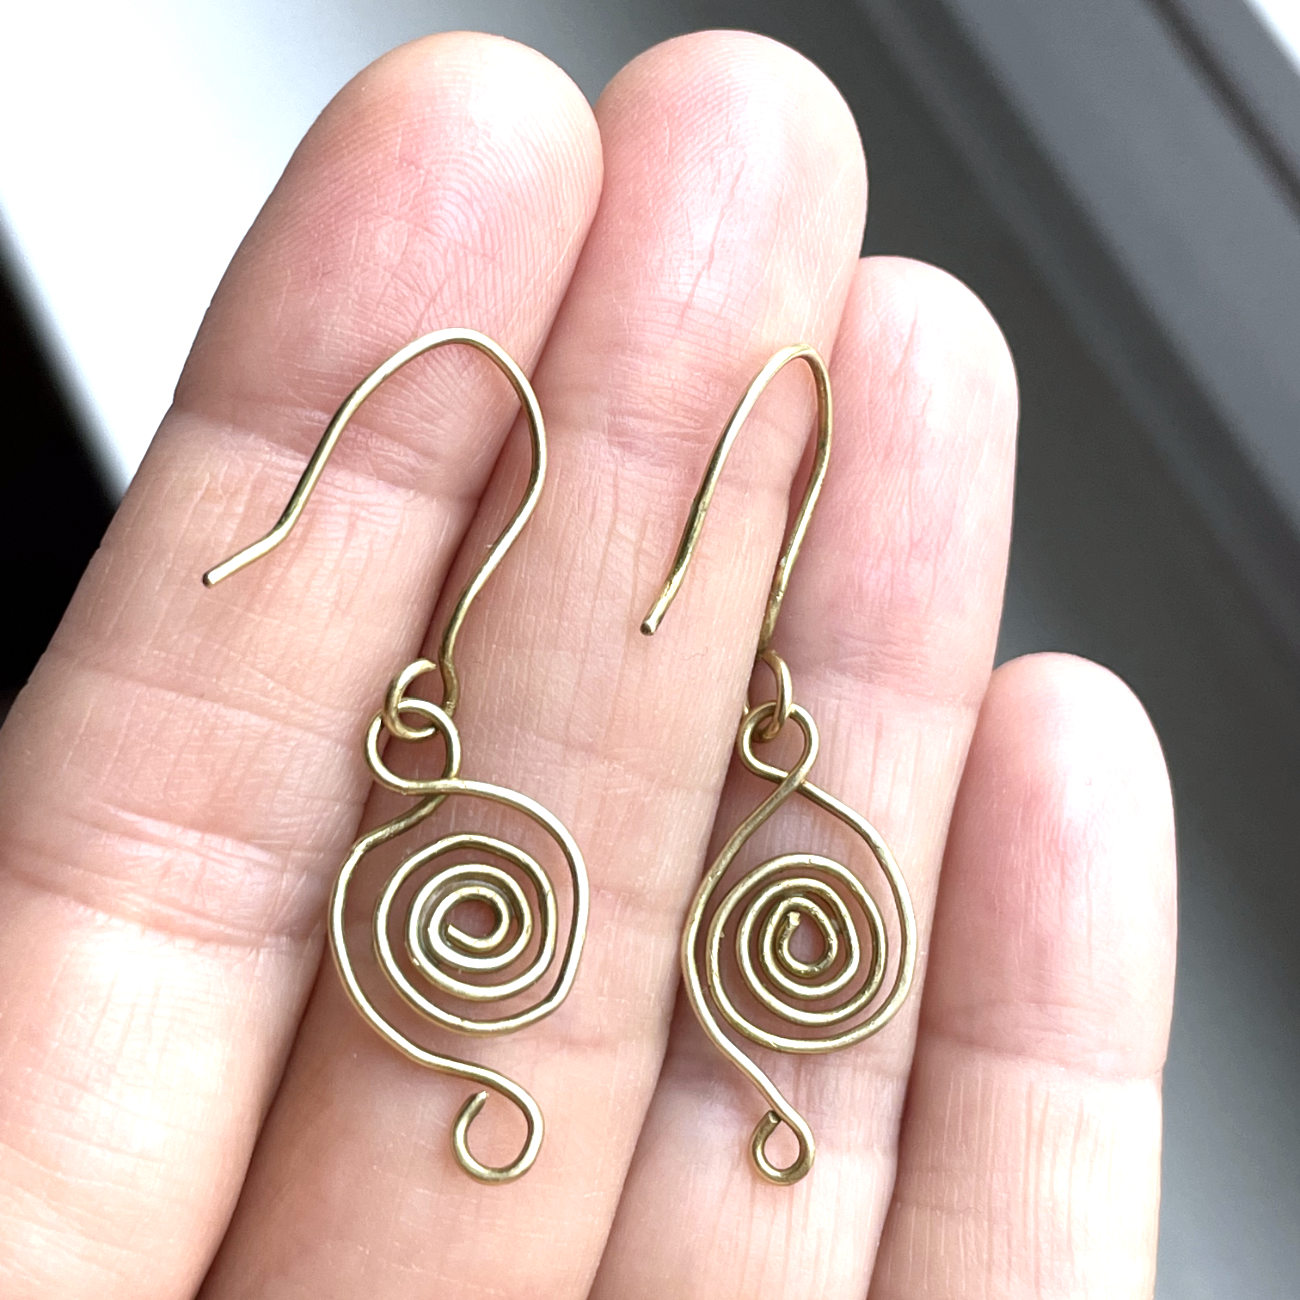
The idea came from my middle daughter. While learning wire wrapping this had been the first time I tried crafting something with brass wire. I made myself these spiral earrings:
The arcs are not fine, shapes are not smooth but the drop earrings themselves are a noticeable piece of jewelry. My daughter saw them and she first thought they were treble clefs. Hence the idea to make her a pair of earrings with this shape. I made the ear wires from the same wire which is cool.
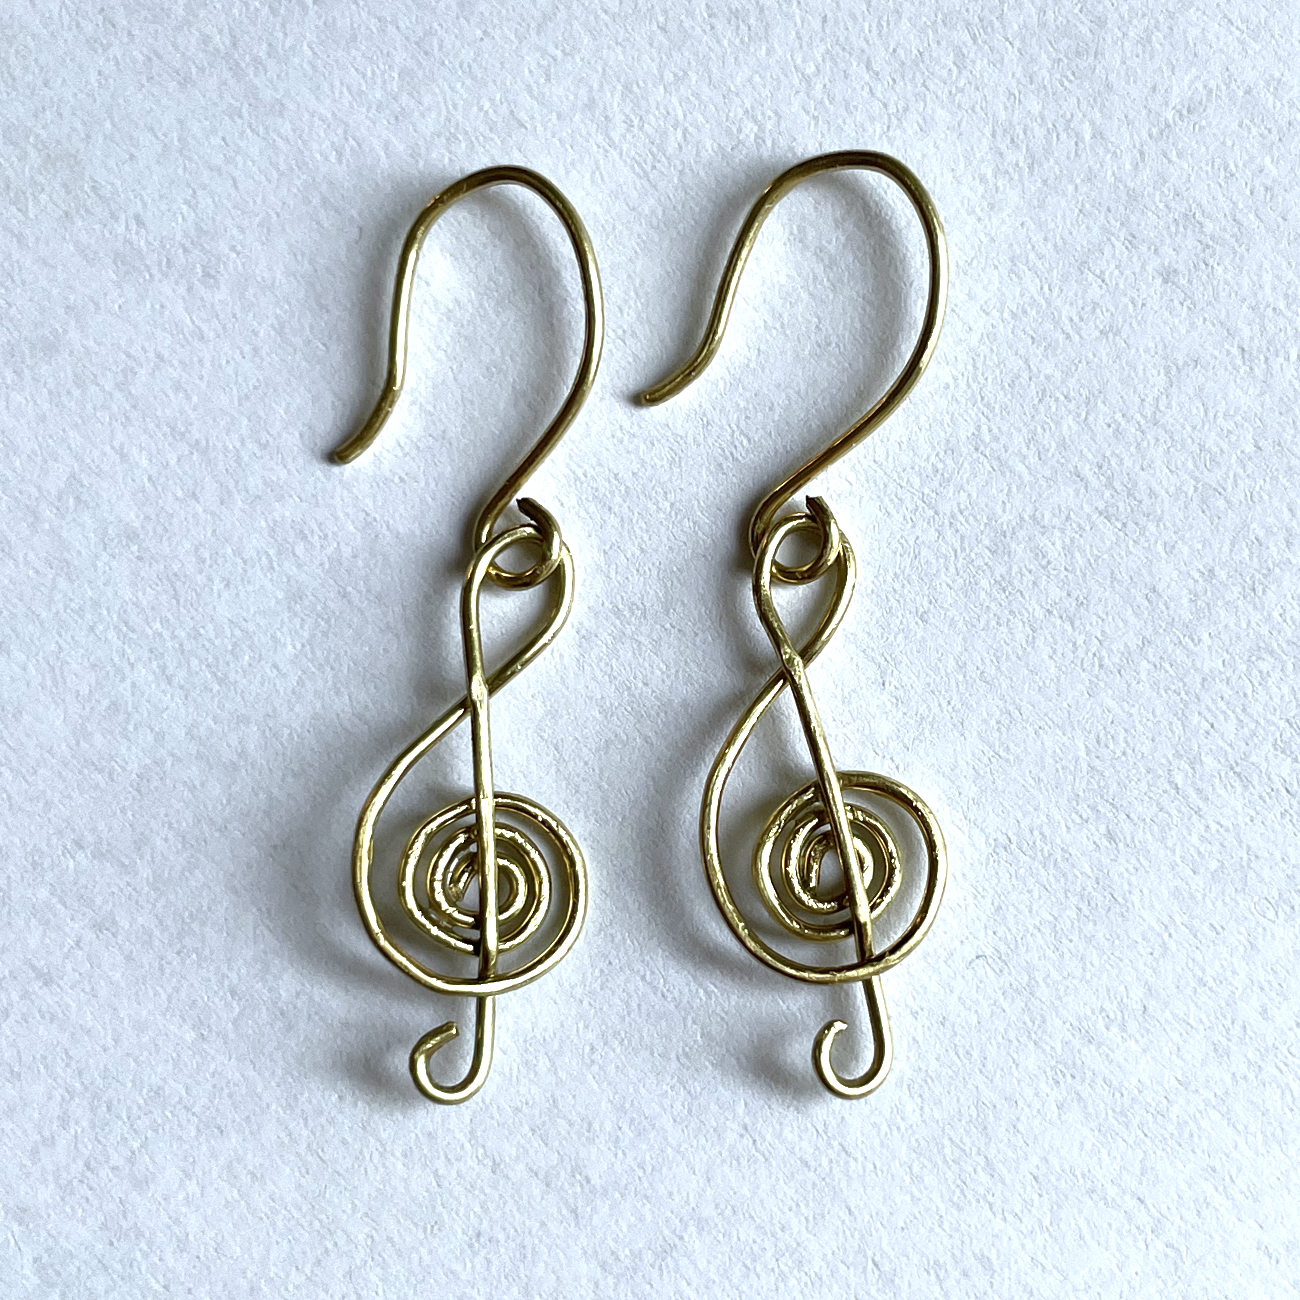
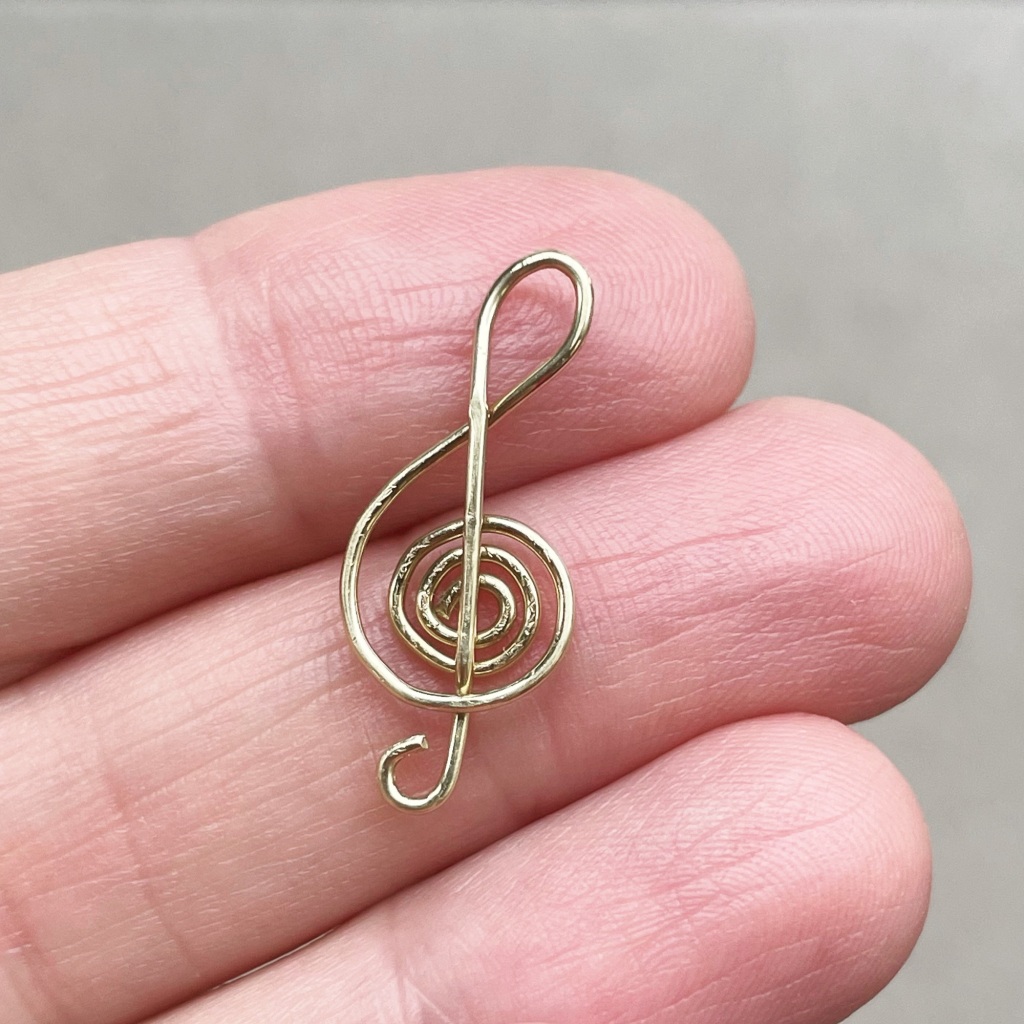
So my second try with brass wire were these music themed earrings and they turned out a lot better than their predecessor. Here is one of the treble clefs before I attached it to the hook:
There is a visible progress in the smoothness of the curves.
And lastly, you can look at a short video of the finished earrings:
I learned that pliers should be grasped very strongly when dealing with hard wire. And arcs are a lot smoother this way.
Next project will be a bracelet for myself. Maybe. And I want to try to darken the wire with sulfur. I’ll write about my experience when I try this method.
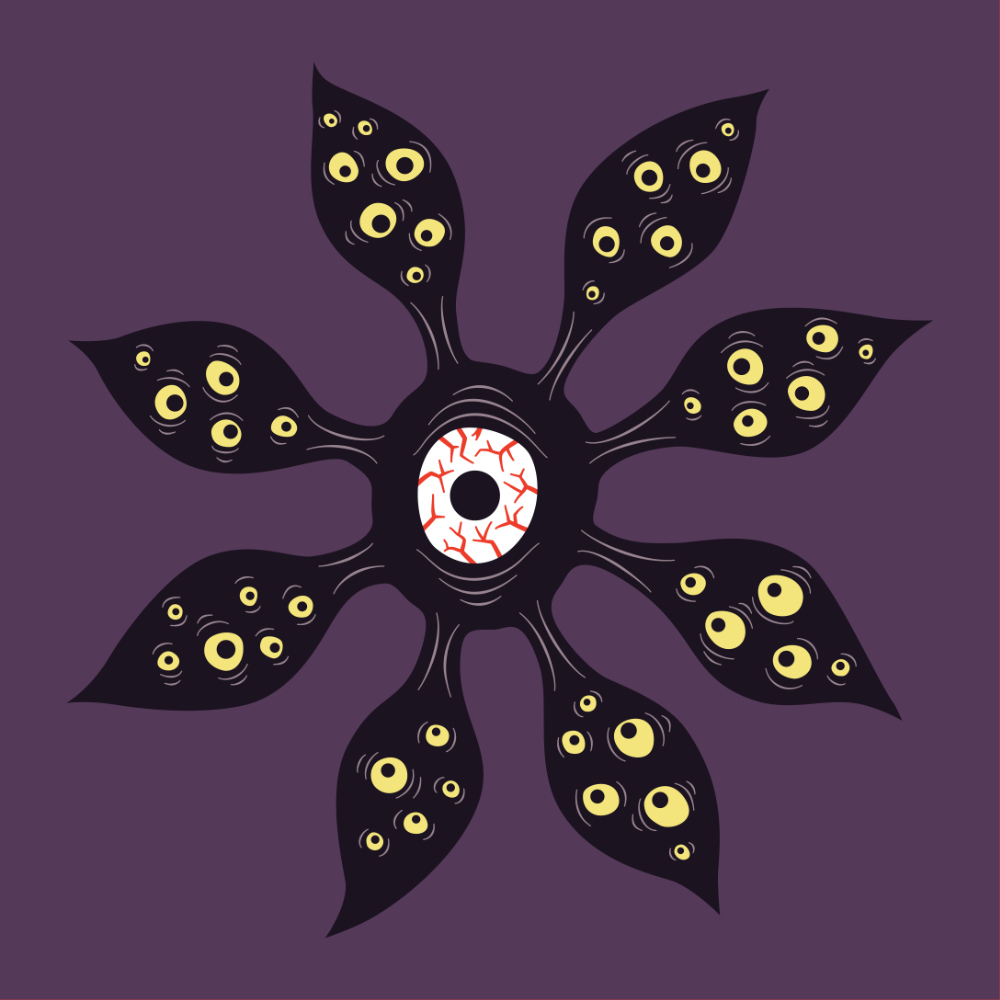
Today I present this little peculiar artwork of mine with its creepy charm – yet another evil eye monster with flower shape. Featuring a lot more eyes than usual this time.
This weird black creature born from the shadows has a fun flower shape and petals with numerous creepy, peculiar eyes that enjoy to follow your every move. Its main eyeball is so tense that its blood vessels are about to burst. Mini-eyes are watching it in horror. Mix of whimsy and darkness – my favorite combination.
On artistic uncertainty
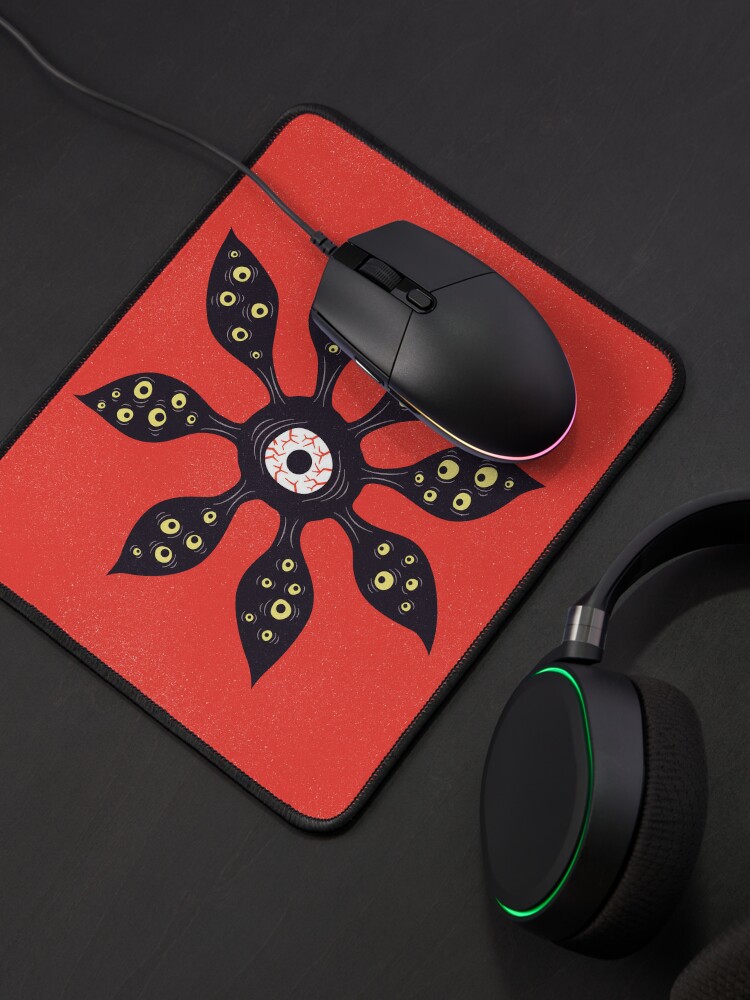
This odd vector artwork comes in two variations – one set against an intense red background – vibrant, dangerous and energetic, and the other against a dark purple one – having an aura of mystery and magic. Each variation offers a bit different perspective on this illustration, and most of all, features two of my favorite colors. This fact comes from my uncertainty about which color to choose – a problem solved in a very uncreative way.
About my difficult relationship with backgrounds
I’ve never been very good with backgrounds. Rarely had the urge to elaborate them. This is one of the reasons to make the most simple ones. Most of the time objects are on focus at my art with background almost non-existent except for a plain color. Somehow the focus of the artwork has always been most important to me.
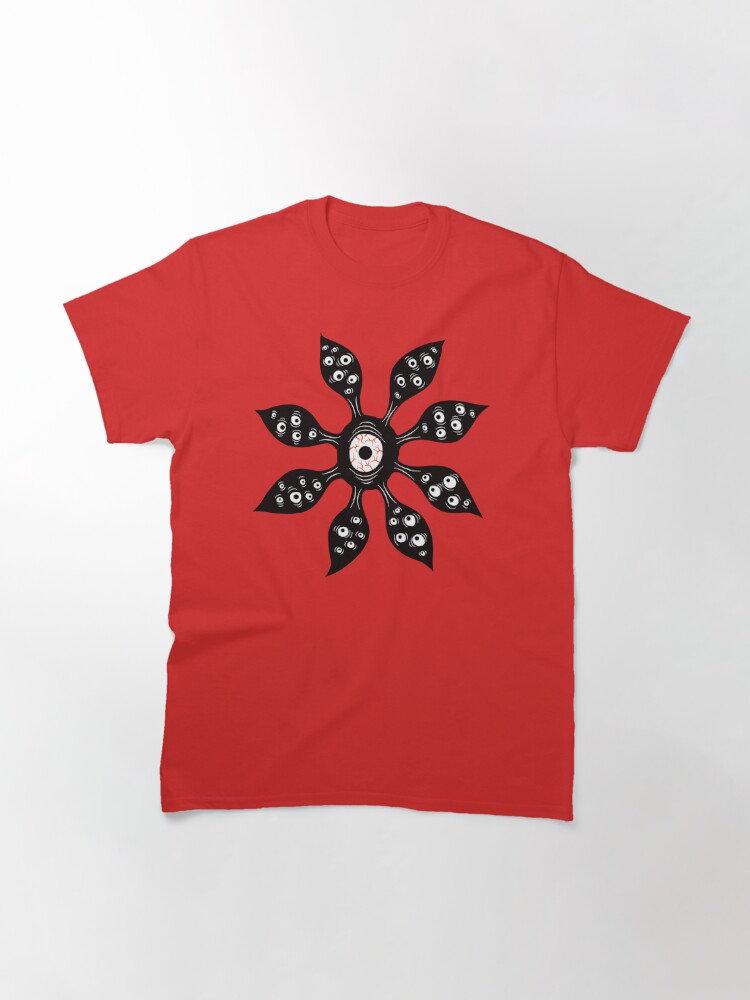
Products with this design
Now comes the paragraph where I show some products with this design from my Redbubble store. “Inobtrusive marketing” but actually very lame. I suck at this. Anyway, here are my personal favorites:
Printable art with this design
And lastly, you can buy a printable version of this artwork and print and frame it yourself. Like in this little video: